Month: August 2025

Why Is My Hot Water Pressure Low?

Plumber and homeowner standing by a kitchen sink

Why Is My Hot Water Pressure Low?

Few plumbing problems are more frustrating than turning on the tap and watching your hot water trickle out. If the pressure isn’t what it used to be, you’re not alone—low hot water pressure is a common issue for homeowners. Here’s what might be causing it and how to fix it.

Common Causes of Low Hot Water Pressure

Several plumbing issues can reduce your hot water pressure:

  • Mineral buildup: Over time, sediment and scale can clog your water heater or hot water pipes.

  • Old pipes: Corrosion and narrowing inside aging pipes restrict water flow.

  • Partially closed valves: A shutoff valve near your water heater may not be fully open.

Hot Water Pressure vs. Cold Water Pressure

Pay attention to whether the issue affects only hot water or both hot and cold:

  • Low hot water pressure only: Likely related to your water heater or hot water line.

  • Low pressure everywhere: Could indicate a larger plumbing issue.

Try testing different fixtures, like your shower and kitchen sink, to see where the problem occurs.

How Your Water Heater Can Affect Pressure

Your water heater plays a major role in water flow. Common heater-related issues include:

  • Sediment buildup in the tank: Blocks water flow and reduces pressure.

  • Scale buildup in tankless systems: Restricts efficiency and slows water.

  • Old or undersized heaters: May not keep up with your household’s demand.

DIY Fixes to Try First

Before calling a plumber, try these simple steps:

  • Clean faucet aerators and showerheads to remove mineral deposits

  • Check the shutoff valve near your water heater to confirm it’s fully open

  • Inspect visible pipes and the heater itself for leaks

When to Call a Plumber

If you’ve tried basic fixes and the problem persists, it’s time to call a professional. A plumber can help if:

  • Multiple fixtures in your home have low pressure

  • You notice pipe damage, rust, or leaks

  • You suspect your water heater is failing

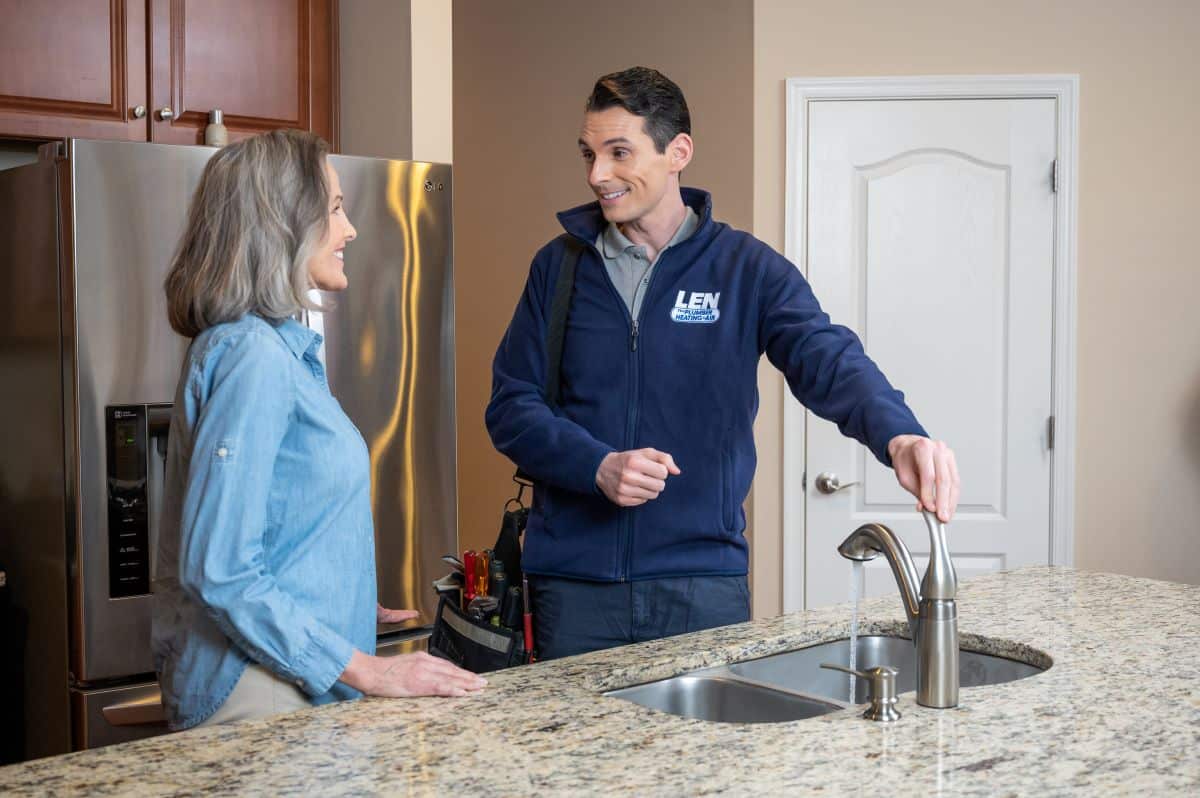
The experts at Len The Plumber Heating & Air can quickly diagnose the problem and restore your hot water pressure.

Frequently Asked Questions

Why is my hot water pressure low in just one faucet?
It’s often caused by a clogged aerator or a blockage in that faucet’s hot water line.

Can my water heater cause low pressure?
Yes. Sediment, scale, or a faulty valve can all affect water pressure.

How do I fix low hot water pressure?
Start with cleaning aerators and checking valves. If that doesn’t work, call a plumber for inspection.

Could a leak be the cause?
Yes. A leak in your hot water pipes or tank can lower water pressure.

Do I need to replace my water heater?
If your heater is old, corroded, or undersized, replacement may be the best solution.

Hot Water Plumbing Service

Don’t let low hot water pressure disrupt your daily routine. Len The Plumber Heating & Air offers same-day service to diagnose and fix hot water problems quickly.

Call today for fast hot water plumbing service and get your water flowing strong again!

This post first appeared on https://lentheplumber.com

Our Handy End-of-Summer Plumbing Checklist

home-exterior-in-early-autumn

As the long days of summer wind down, it’s the perfect time to prepare your home for the cooler months ahead. By catching small plumbing issues now, you can prevent costly and inconvenient problems later. If you’re not sure where to start—or if you spot something that needs professional attention—our expert team is here to help. And if you ever need a skilled plumber in Cedar Grove, NJ, you know who to call!

Inspect Outdoor Faucets and Hoses

Start with your home’s exterior. Check all outdoor spigots and hose bibs for leaks or drips. Even minor leaks can worsen during freezing temperatures, potentially leading to pipe bursts. Disconnect and drain garden hoses before storing them to prevent trapped water from freezing. If you notice persistent leaks or cracks in the faucet assembly, it’s time to have a plumber take a closer look.

Test Your Sump Pump

If you have a basement sump pump, test it by pouring a bucket of water into the pit and watching to see if it kicks on and drains properly. This small step can help you avoid flooding issues during heavy fall rains or early snowmelts. If your pump doesn’t respond, makes unusual noises, or runs constantly, a professional inspection is in order.

Check Toilets and Faucets for Silent Leaks

A toilet that runs occasionally—or constantly—could be wasting hundreds of gallons of water a month. The same goes for dripping faucets. Check toilets by adding a few drops of food coloring to the tank; if the color appears in the bowl without flushing, you have a leak. This means it’s time to call in a pro.

Clean and Inspect Drains

End-of-summer barbecues and gatherings can lead to extra grease, food debris, and soap scum going down your drains. Run hot water through kitchen and bathroom sinks, and use a safe, enzyme-based cleaner to help keep pipes clear. If you notice slow drains, gurgling sounds, or recurring clogs, don’t rely on chemical drain cleaners—those can damage your plumbing. A plumber can clear the line safely and thoroughly.

Examine Exposed Pipes

Take a look at any exposed pipes in your basement, crawlspace, or garage. Check for signs of corrosion, mineral buildup, or damp spots that may indicate a slow leak. This is also a good time to add insulation to pipes in unheated areas to protect against winter freezing. If you do spot any problems, we can help you sort them out right away.

Schedule a Water Heater Flush

Over time, sediment builds up inside your water heater, reducing its efficiency and lifespan. Flushing your water heater at the end of summer helps prepare it for the increased use that often comes with colder weather. If you hear rumbling noises or see rusty water, you may need professional service.

By running through this simple checklist now, you can ensure your home’s plumbing is in great shape before the cold weather sets in. And remember—if anything on this list raises concerns you can’t tackle yourself, our experienced team is ready to help you make sure your home is ready for a worry-free winter!

Contact MarGo Plumbing Heating Cooling Inc. today to schedule an appointment or with any questions for a plumber in Cedar Grove, NJ!

The post Our Handy End-of-Summer Plumbing Checklist first appeared on MarGo Plumbing Heating Cooling Inc..

This post first appeared on https://margoplumbing.com

How Do I Install a Sump Pump?

home sump pump

How Do I Install a Sump Pump?

A wet basement can cause serious headaches for homeowners. One of the best ways to protect your home from flooding is by installing a sump pump. While some handy homeowners take this on as a DIY project, it’s not as simple as it looks. Here’s what you need to know before getting started.

What Is a Sump Pump & Why You Might Need One

A sump pump is designed to keep your basement or crawl space dry by collecting excess water in a sump pit and pumping it safely away from your home’s foundation.

You may need a sump pump if:

  • Your basement floods during heavy rainstorms

  • You live in a low-lying or high-water-table area

  • Your home has poor exterior drainage

Without one, you risk water damage, mold growth, and costly structural repairs.

Tools & Materials Needed

Before beginning installation, you’ll need the right supplies:

  • Sump pump and pit liner (basin)

  • Gravel

  • PVC pipe and a check valve

  • Drill, shovel, and level

  • Concrete mix

  • GFCI outlet or dedicated electrical source

Step-by-Step Guide to Installing a Sump Pump

  1. Choose the location – Pick the lowest spot in your basement where water collects most often.

  2. Dig the pit – Dig about 2 feet deep, large enough to fit the sump basin.

  3. Place the basin – Set it in the hole, fill around it with gravel, and make sure it’s level.

  4. Install the pump – Place the sump pump inside the basin and connect it to the discharge pipe.

  5. Add a check valve – This prevents pumped water from flowing back into the pit.

  6. Run the discharge line – Extend PVC pipe outside, sloping it away from your home’s foundation.

  7. Seal the pit – Pour concrete around the basin to secure it.

  8. Power and test – Plug the pump into a GFCI outlet and pour water into the pit to confirm it works.

Common Mistakes to Avoid

  • Not sloping the discharge line away from the house

  • Forgetting to install a check valve

  • Skipping local building codes or required permits

When to Call a Pro

Installing a sump pump requires electrical and plumbing know-how. You should consider hiring a professional if:

  • You’re not comfortable working with wiring or drainage

  • Your basement layout makes installation tricky

  • Your system needs to tie into an existing drainage setup

The experts at Len The Plumber Heating & Air provide sump pump installation and replacement throughout the Baltimore area, so you can protect your home without the hassle.

Frequently Asked Questions

Can I install a sump pump myself?
Yes, if you have the right tools and experience. But many homeowners prefer a professional installation for peace of mind.

How long does sump pump installation take?
DIY installation usually takes 4–8 hours, depending on your experience and basement setup.

Do I need a permit to install a sump pump?
It depends. Some areas require permits for electrical or drainage work—always check local codes.

How much does professional installation cost?
In Baltimore, most installations range from $500 to $1,500, depending on complexity.

Sump Pump Installation in Baltimore

If you’re ready to protect your basement from flooding, Len The Plumber Heating & Air is here to help. We offer expert sump pump installation and repair services across the Baltimore area.

Call today to schedule sump pump service with our team!

This post first appeared on https://lentheplumber.com

Why You Can’t Install a Gas Line on Your Own

There are many times when you might need to install a new gas line in your home. Maybe you had an electric appliance such as an oven, water heater, or clothes dryer, and you are purchasing a new one that runs on natural gas. Or maybe you’re tired of swapping out grill tanks all the time, and you want to install a gas line directly to the backyard so you can hook up your grill and have barbecues any time you like. 

This leaves many wondering if homeowners can install a gas line themselves. While the DIY spirit is admirable for many projects, when it comes to installing gas lines, the answer is a firm and resounding no. A safe and successful natural gas line installation requires a level of expertise and certification that goes far beyond a weekend project.

The Dangers of Doing A Gas Line Installation Yourself

The primary reason to avoid installing a natural gas line yourself is safety. Natural gas is an efficient and reliable fuel, but it’s also highly combustible. A mistake during a new gas line installation can have devastating consequences.

  • Leaks and Explosions: The smallest imperfection in a fitting or connection can lead to a gas leak. Over time, this can fill an enclosed space, creating a severe risk of fire or explosion.
  • Carbon Monoxide (CO) Poisoning: An improperly sized or vented line can cause gas appliances to malfunction, producing deadly, odorless carbon monoxide gas.
  • Material Failure: Professional gas line installers know the proper pipes and fittings needed for the job. Common plumbing pipes are not rated for gas and can corrode quickly, leading to leaks.

The Legal and Financial Risks in Florida

Beyond the immediate dangers, attempting to install a gas line yourself can lead to serious legal and financial trouble. In Florida, all gas line work requires permits and must adhere to the strict Florida Fuel Gas Code.

This process ensures the proper installation of a gas line in a residential property and requires passing a final inspection from a local official. Unpermitted work will automatically fail this inspection, forcing you to pay a professional to redo the entire job correctly. Furthermore, if an incident occurs due to unpermitted work, your homeowner’s insurance will likely deny the claim, leaving you financially responsible for all damages.

Who Installs Gas Lines? 

So, who installs gas lines? The answer is simple: licensed and certified plumbers. Modern Plumbing Industries is proud to be among the leading plumbers that install gas lines in the Orlando area.

When you hire a professional plumber to install a gas line, you can rest assured knowing that you’re investing in:

  • Certified Expertise: Our technicians are experts in every aspect of natural gas line installation, including specialized work like installing gas lines in a house or performing an underground gas line installation for outdoor appliances.
  • Specialized Tools: A professional gas line installation requires tools like manometers for pressure testing and electronic leak detectors to guarantee a perfect seal—equipment that is expensive and not part of a standard DIY toolkit.
  • Peace of Mind: Knowing your residential gas line installation was completed safely and to code is invaluable. Our work is insured and guaranteed, protecting your family and your property.

Your Trusted Partner for Gas Line Services in Central Florida

From planning a simple appliance hookup to installing a gas line for your entire home, the process must be handled with professional precision. The team at Modern Plumbing Industries, Inc. has been the trusted choice for safe and reliable gas line installation in the greater Orlando community since 1975.

Don’t risk your safety or the value of your home. Contact our expert gas line installers today for a consultation and a free estimate.

This post first appeared on https://www.modernpi.com

Ice on Your AC: Good News or Bad?

Spotting ice on your air conditioner might seem odd—after all, AC units are supposed to cool your home, not freeze themselves. If you’ve recently noticed frost or ice buildup on your system, don’t ignore it. While it may not always mean a major problem, it’s definitely a sign that something isn’t working as it should. Whether you rely on your system daily or seasonally, maintaining reliable air conditioning in Montville, NJ, means knowing how to respond when something goes wrong.

Step 1

First things first: turn the system off immediately. Running an air conditioner with ice on it can cause further damage to the compressor or other internal components. Next, allow the ice to melt completely. This can take several hours, so be patient. While waiting, keep an eye on the drainage around your indoor unit. As the ice melts, the excess water needs somewhere to go. Make sure the condensate drain is working properly and monitor the area to avoid water damage to floors, ceilings, or walls.

Step 2

Once all the ice has melted, clean the evaporator coils if you can access them. Ice can often form because the coils are dirty and can’t absorb heat effectively. A gentle brush or coil cleaner can remove dust and grime that’s blocking airflow. You’ll also want to check the air filter—if it’s dirty or clogged, replace it immediately. Proper airflow is crucial to your AC’s operation, and restricted air movement is one of the most common reasons ice forms in the first place.

Step 3

Now it’s time for the test: turn your air conditioner back on. Let it run and keep a close eye on it for the next few hours. If the system seems to be cooling normally and no ice returns, the issue may have been temporary—possibly due to a dirty coil or filter.

However, if the ice builds up again, it’s time to call in the professionals. Recurring icing usually indicates a deeper issue that needs expert attention. Our team is fully equipped to diagnose and resolve persistent AC icing problems.

Common Causes of Repeated AC Icing

  • Low refrigerant levels: Often due to a leak, this can prevent the system from absorbing heat properly, leading to freezing.
  • Faulty blower fan: If the fan isn’t pushing enough air across the coils, they can get too cold and start freezing up.
  • Dirty or blocked ductwork: Restricted airflow anywhere in the system contributes to temperature imbalances and icing.
  • Thermostat problems: A malfunctioning thermostat can cause the system to run too long or at inappropriate temperatures.
  • Mechanical failures: Issues with the expansion valve or other internal components may lead to frost buildup.

When in doubt, don’t wait. Ignoring ice on your AC can lead to bigger, more expensive problems down the line. Contact our team for professional inspection and repairs—we’re here to help keep your system running smoothly and your home comfortable.

Contact MarGo Plumbing Heating Cooling Inc. today to schedule an appointment or ask any questions about your air conditioning in Montville, NJ!

The post Ice on Your AC: Good News or Bad? first appeared on MarGo Plumbing Heating Cooling Inc..

This post first appeared on https://margoplumbing.com

+1-877-959-3534