Month: September 2025

How Do I Find a Leak Inside a Wall?

Ceiling Damaged By Water Leak At HomeIf you spot a suspicious stain on your wall, notice a musty odor in your home, or get hit with a surprisingly high water bill, you know something is off. You might have a leak inside your wall, which can cause mold growth, drywall damage, structural deterioration, and major repair costs if ignored. In this guide, you’ll learn how to find a hidden wall leak, the signs of a leak inside a wall, tools that help detect it, and when it’s time to call the professionals at Len The Plumber Heating & Air for plumbing service.

What Are the Common Signs of a Leak Inside the Wall?

If you notice any of the following, you may have a water leak behind drywall or near interior piping:

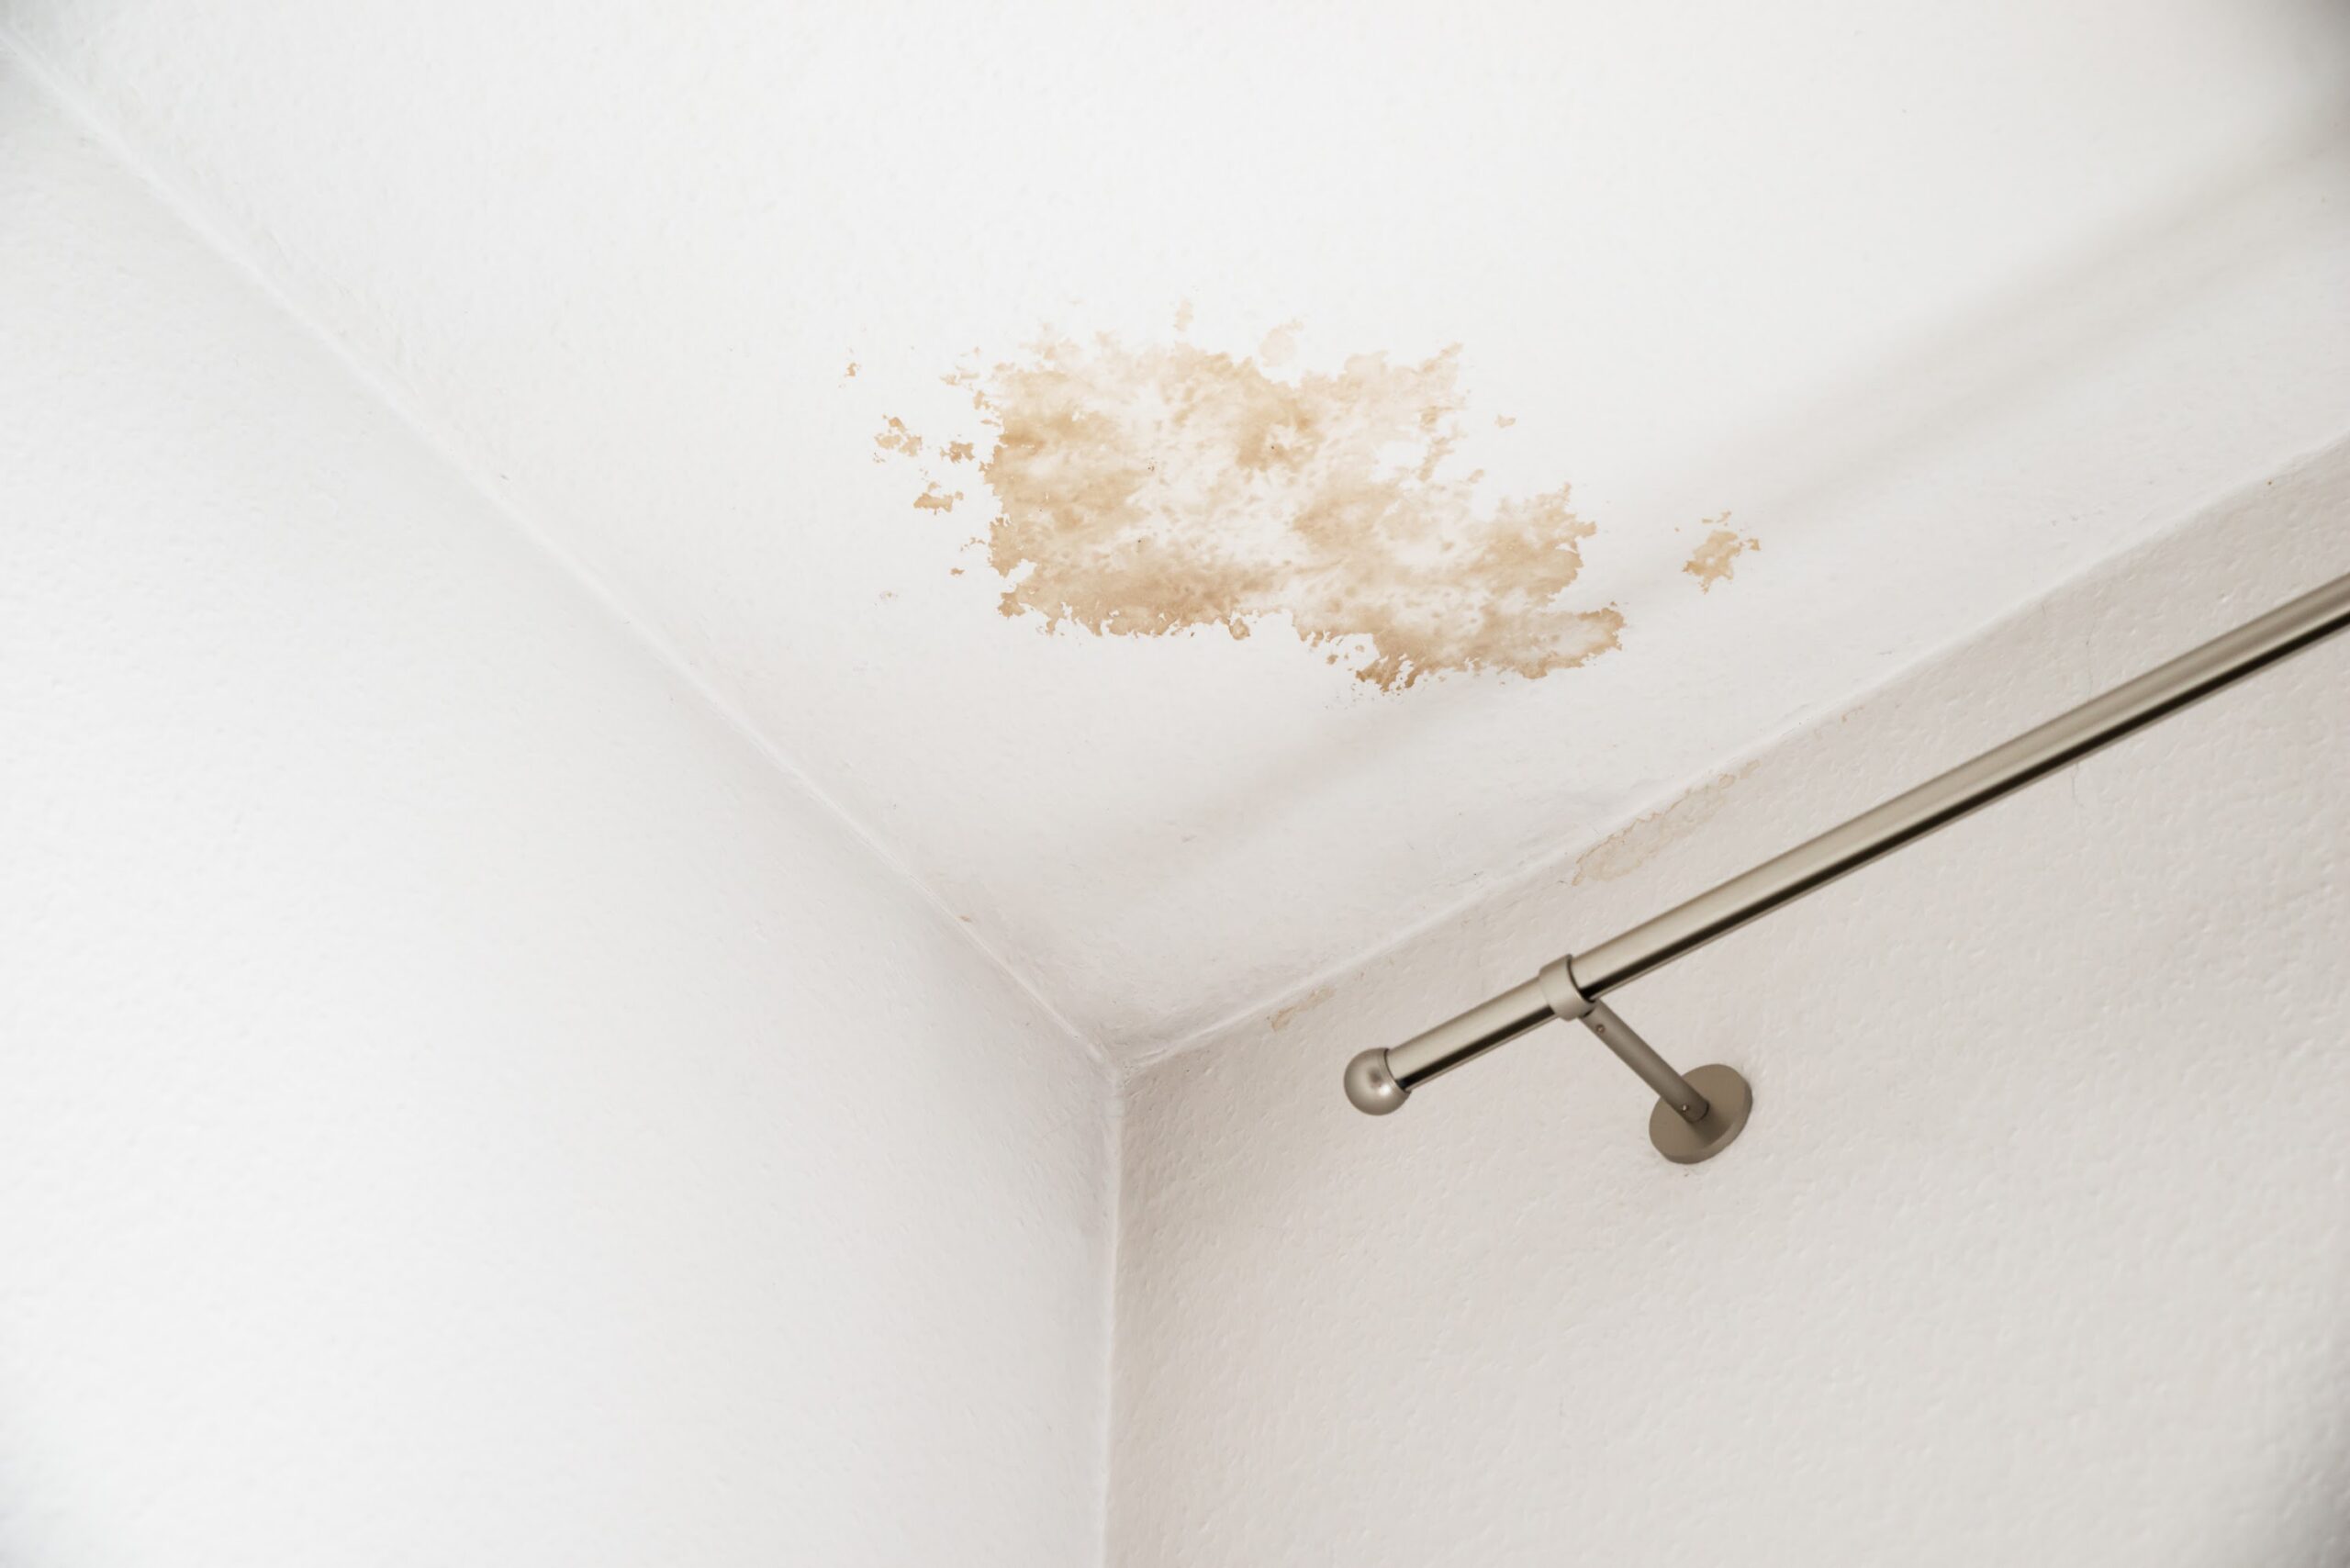
  • Discoloration or water stains on walls or ceiling: Yellow or brown spots are a classic sign of moisture buildup.
  • Peeling, bubbling, or blistering paint or wallpaper: Moisture beneath the surface causes adhesive breakdown.
  • Musty or mildew smells even when the room looks dry: This means that mold may be growing behind the walls.
  • Warped or buckled drywall or floor near the area: Water saturation can cause materials to swell and deform.
  • Unexplained increase in water bill or drop in water pressure: This indicates possible continuous leakage somewhere in the plumbing system.

What Tools Can Help Reveal a Hidden Wall Leak?

You don’t always need to tear into drywall to find a leak. These tools provide less invasive wall leak detection methods:

  • Moisture meter: Tests drywall or wall surfaces for elevated moisture levels.
  • Infrared / thermal imaging camera: Detects temperature changes that often indicate wet insulation or interior leaks.
  • Acoustic or ultrasonic leak detection tools: Listen for running or dripping water inside walls.
  • Borescope / inspection camera: Lets you look behind drywall through small access holes to visually confirm moisture or pipe damage.

How Do I Narrow Down Where the Leak Is Coming From?

If you’ve confirmed you have a leak but aren’t sure where it originates, these steps can help you narrow it down:

  • Turn off all water sources and check the water meter: If the meter still moves, you likely have a hidden plumbing leak.
  • Trace visible signs: Work backward from any stains, warping, or bubbling paint, paying attention to what plumbing runs above or behind.
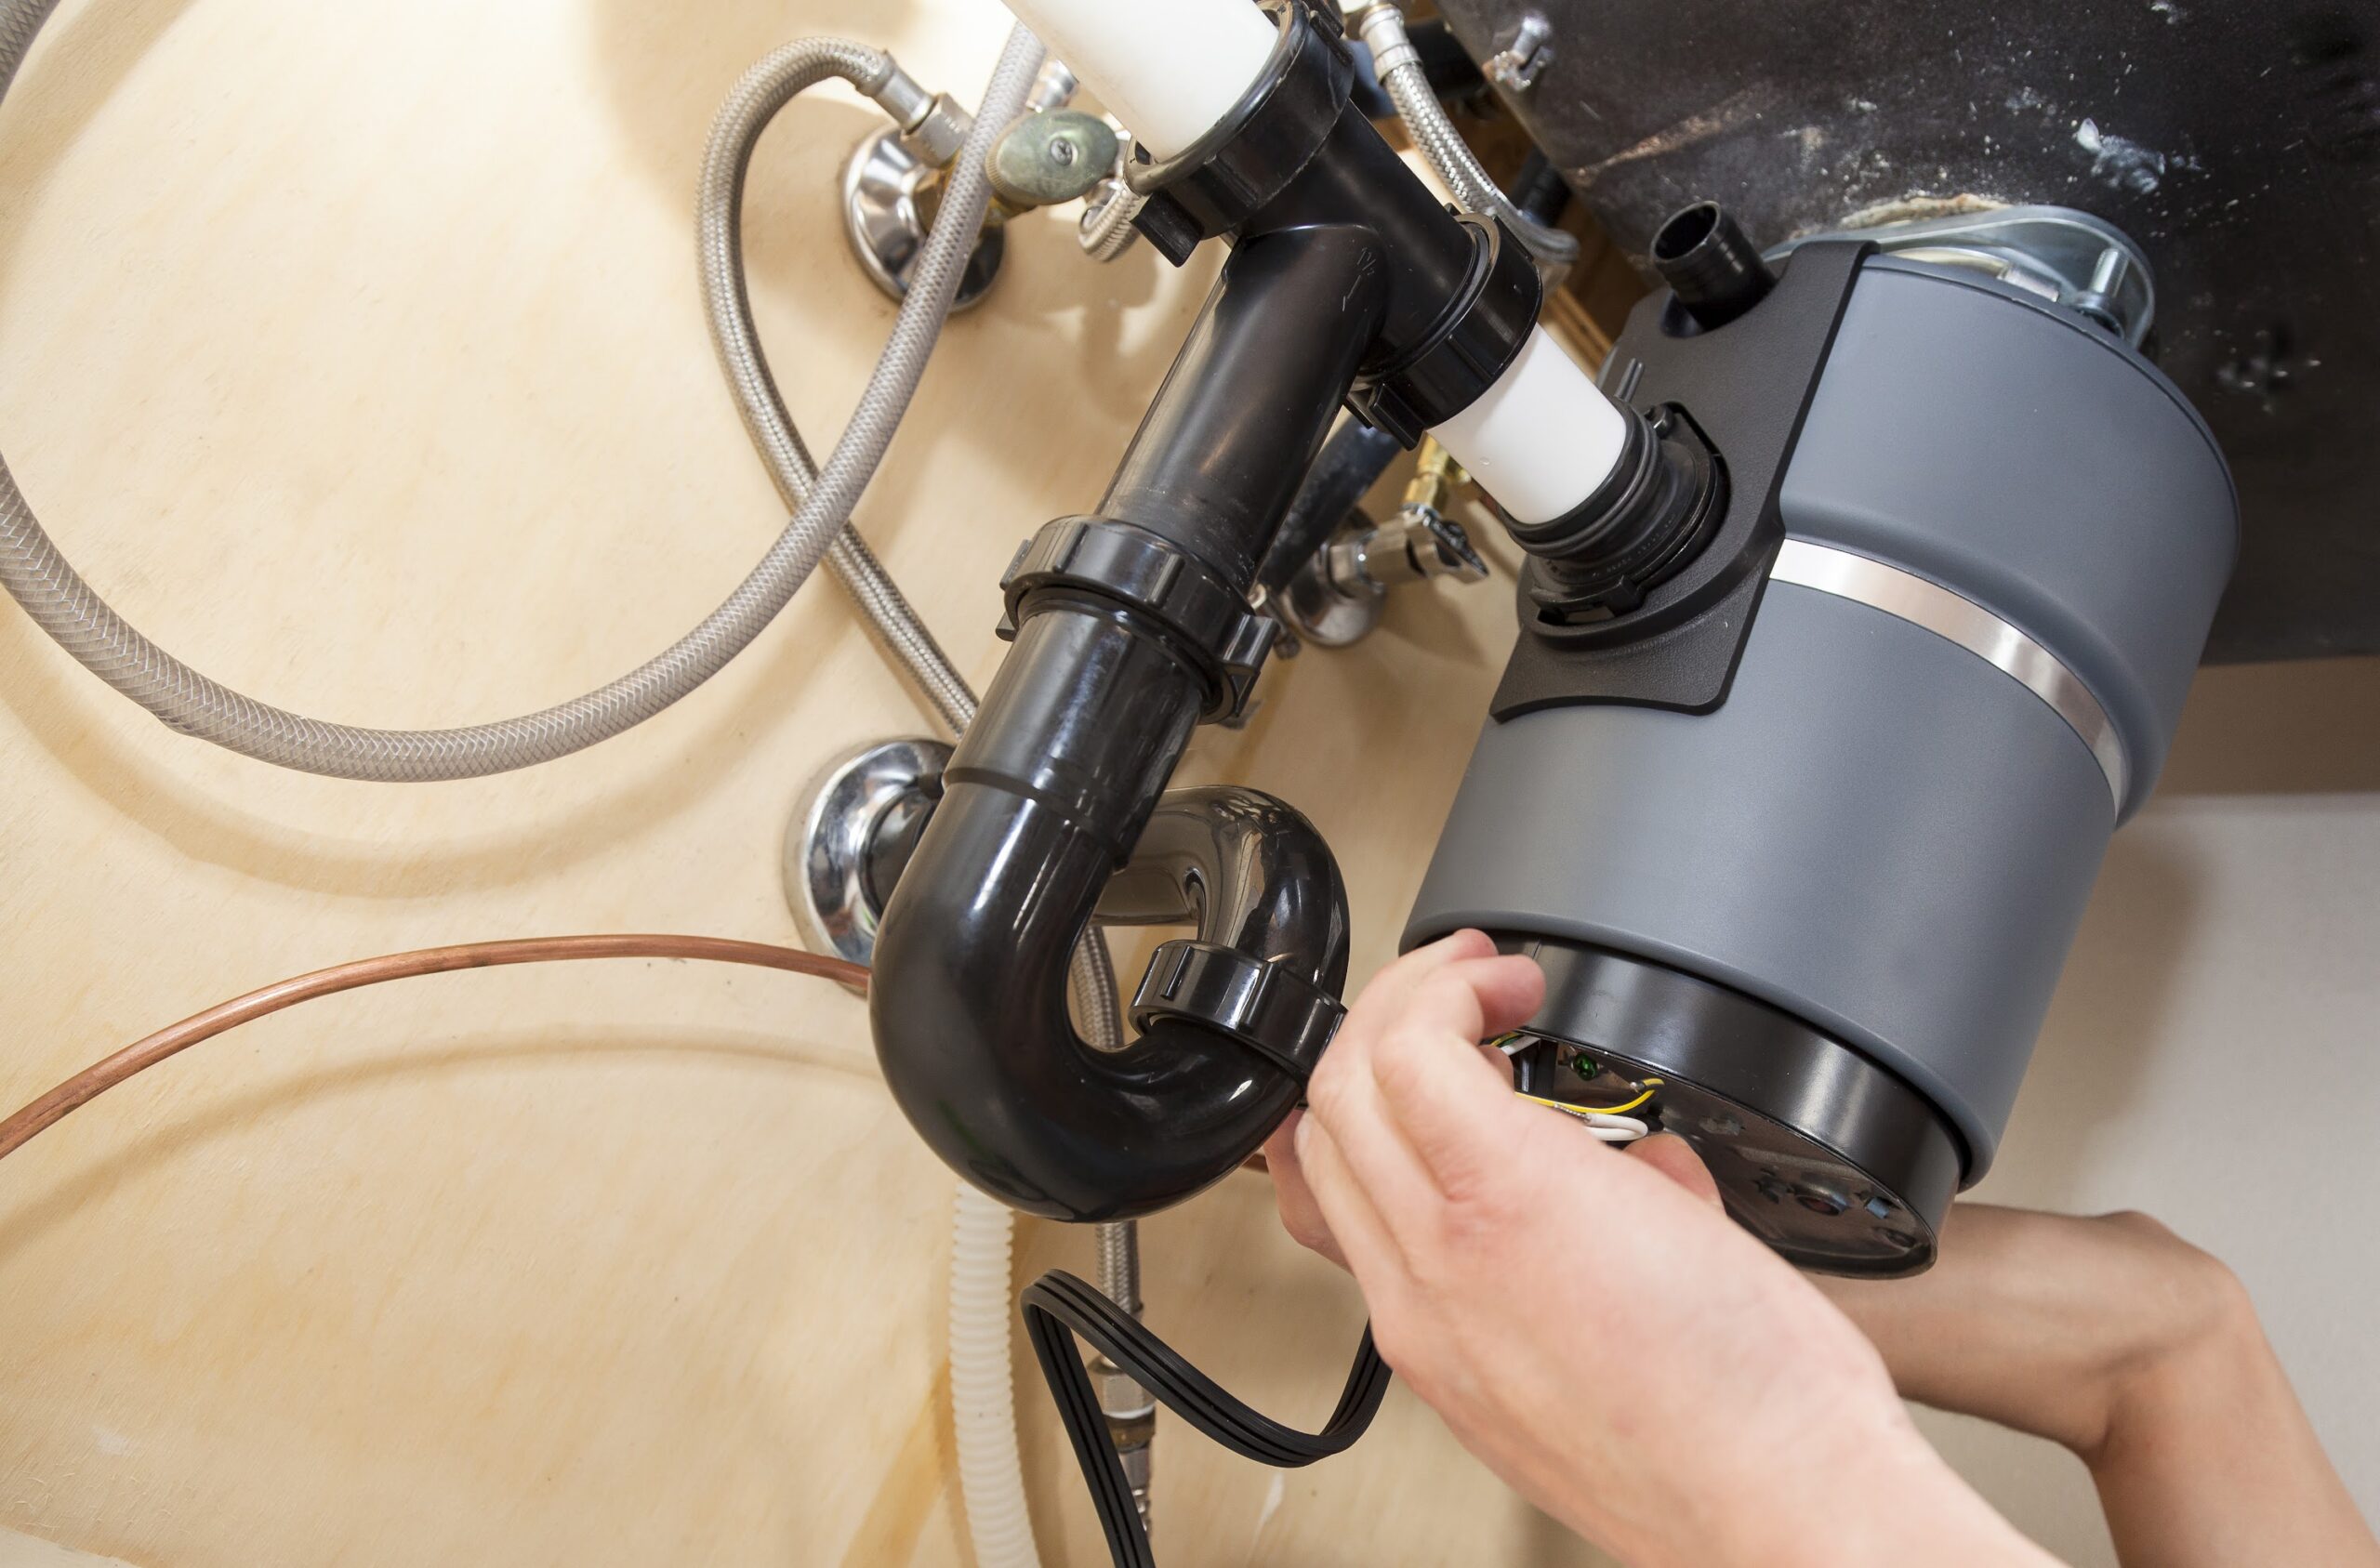
  • Check nearby fixtures and pipes: Inspect bathrooms, kitchens, hose bibs, and appliances adjacent to the affected area.
  • Use moisture readings: Measure moisture at intervals to find where it increases or tapers off—this gives clues to the leak’s origin.

What Are Some DIY Steps Before Calling a Professional?

There are a few DIY wall leak troubleshooting steps you can try before calling a plumber:

  • Dry the area and see if any fresh moisture appears: This helps determine if the leak is active or intermittent.
  • Isolate sections of plumbing: Shut off valves to specific fixtures or rooms and observe if signs improve or stop.
  • Use simple tools: A flashlight, mirror, or just listening carefully in quiet moments can sometimes help you detect water sounds.
  • Keep records: Take photos of stains or wet spots, track water meter readings, and note when smells or symptoms worsen.

When Should I Call a Plumber?

A leak may be beyond your ability to locate if:

  • The leak is substantial or worsening quickly.
  • Mold or mildew is visibly present.
  • There’s sagging drywall, warped flooring, or structural damage.
  • You’ve tried DIY methods and still can’t find the leak.
  • There are safety concerns, such as water near electrical wiring or signs of rotted materials.

Our experienced plumbers use advanced detection tools and repair methods to quickly locate and resolve hidden leaks—minimizing damage and restoring peace of mind.

Frequently Asked Questions

Can a leak inside a wall go unnoticed for a long time?

Yes. Slow leaks often show subtle signs, such as odors, small stains, or paint changes, that might be mistaken for other issues. These can go unnoticed until damage or mold becomes more visible.

Is it possible to detect a leak behind drywall without cutting it open?

Often yes. Tools like moisture meters, infrared cameras, and acoustic detectors can help pinpoint wet spots non-invasively. Once you’ve located the general area, you might need a small inspection hole to see exactly where the pipe or source is.

What does a thermal imaging camera show when there’s a leak?

It shows temperature anomalies. Wet areas often are cooler or sometimes warmer, depending on conditions, than the surrounding dry materials. These differences appear as color variations, such as blue, green, red, etc., on the thermal image.

How can I tell if the leak is plumbing vs condensation or outside water intrusion?

Consider location and timing:

  • If the leak shows more after plumbing use, such as turning on the faucet or shower, it’s likely a plumbing leak.
  • If leaks are consistent during rain or storms, there could be exterior intrusions through the roof, siding, or windows.
  • Condensation often happens in kitchens and bathrooms where moist air meets cold surfaces.

What damage can a hidden leak inside a wall cause if left unchecked?

Potential risks include mold and mildew growth, rot in wood framing or drywall, damage to insulation, weakening of structural elements, peeling paint or wallpaper, higher utility bills, and potential electrical hazards.

Request Leak Detection & Repair Today

A leak inside a wall is nothing to ignore. The longer it goes undetected, the more damage it can cause. Whether you’re dealing with mysterious stains or clear signs of a hidden water issue, Len The Plumber Heating & Air is standing by to help. We offer prompt, professional leak detection and wall leak repair across the Mid-Atlantic region.

Book leak detection and repair services online or call now for same-day service!

This post first appeared on https://lentheplumber.com

How Do I Replace My Garbage Disposal?

Man installing garbage disposal in homeIf your garbage disposal is leaking, making strange noises, or constantly jamming, a replacement might be the smartest fix. Repairs can be costly and unreliable, especially if your unit is aging. In this guide, we’ll walk you through how to replace your garbage disposal safely, including the tools you’ll need, step-by-step instructions, and when it’s time to call a pro. Whether you’re tackling it yourself or just want to understand the process, Len The Plumber Heating & Air has you covered.

What Tools & Materials Do I Need to Replace a Garbage Disposal?

Before you dive into a DIY garbage disposal replacement, make sure you have the right tools and parts on hand. Having everything ready will make the job go smoother and help you avoid delays or mid-project hardware store runs.

Tools

  • Screwdriver
  • Wrench
  • Channel-lock pliers
  • Safety gloves
  • Wire nuts
  • Bucket
  • Plumber’s putty

Parts & Materials

  • New garbage disposal unit: Make sure to match the horsepower and mounting type of your current system.
  • Mounting hardware: This is included with most new units.
  • Electrical connectors or power cord: Check to see if you can reuse your existing one.
  • Discharge tube parts and rubber gasket: These may be included with your new unit, or might need to be purchased separately.

How Do I Prepare Before Replacing the Disposal?

It only takes a few minutes to prepare your workspace, but it can help you avoid safety risks and mess.

  • Turn off power: Shut off the disposal’s circuit breaker at the panel to eliminate electrical hazards.
  • Turn off water: Locate the shut-off valve under the sink and stop the water supply.
  • Place towels or bucket: Put towels or a bucket beneath the unit to catch any water or debris during removal.
  • Safety first: Make sure your tools are insulated, and wear gloves and safety goggles to protect your hands and eyes.

What Are the Steps to Remove the Old Garbage Disposal?

Removing your old unit is straightforward with the right approach:

  1. Disconnect the power by unscrewing the cover plate and separating the electrical wires.
  2. Use pliers to detach the discharge tube from the disposal.
  3. If your garbage disposal is connected to a dishwasher, remove the drain hose.
  4. Support the unit with one hand while using your other hand (or the provided wrench) to rotate the mounting ring counterclockwise to release the disposal from the sink flange.
  5. Unscrew the mounting assembly from beneath the sink and push the sink flange up and out.
  6. Scrape off any old putty or debris left around the drain opening.

How Do I Install the New Garbage Disposal?

Installing your new disposal is a reverse of the removal process, with a few extra steps for sealing and wiring:

  1. Apply plumber’s putty around the new sink flange.
  2. Drop the flange into the sink drain, then go beneath the sink to install the rubber gasket, backup flange, and mounting ring. Tighten evenly to secure.
  3. Mount the new disposal by aligning its tabs with the mounting ring, then twist to lock it into place.
  4. Install the discharge tube and connect it to the household drain trap.
  5. Connect the dishwasher hose (if applicable), making sure to remove the plug inside the disposal inlet first.
  6. Wire the electrical supply according to the manufacturer’s diagram—typically connecting hot, neutral, and ground wires—then secure the cover plate.

How Do I Test & Finish the Replacement?

Before you call the job done, follow these steps to make sure everything is operating as it should:

  1. Restore power at the breaker, but keep the switch off for now.
  2. Run cold water into the sink, then turn on the disposal. Check for any leaks around the flange, discharge pipe, or dishwasher hose.
  3. Listen for odd sounds, vibrations, or humming that could indicate installation issues.
  4. Confirm smooth operation, including proper drainage and grinding.
  5. Clean up excess plumber’s putty and double-check that all connections are tight.

What Are the Costs & When Should I Call a Pro?

DIY disposal replacement usually costs $150–$450 for parts and materials. It’s manageable if you’re swapping similar units in an easy-to-access space. But if the job involves electrical work, tight quarters, or plumbing updates, it’s safer to call a professional. Mistakes like improper wiring or loose seals can lead to leaks, damage, code violations, and safety issues. When in doubt, trust Len The Plumber Heating & Air to handle your garbage disposal replacement safely and efficiently.

Frequently Asked Questions

How long does a garbage disposal typically last?

Most garbage disposals last eight to 12 years, depending on usage, maintenance, and how well they are installed. If yours is beyond that, replacement often makes sense.

Can I replace a garbage disposal myself, or do I need a plumber or electrician?

Yes, many homeowners with basic DIY skill can handle it—as long as the electrical wiring is straightforward, the space allows access, and you follow safety precautions. But call a pro if you’re unsure, need to run wiring, or encounter complex plumbing.

What size or horsepower disposal do I need?

Choose based on household size, how often you cook, and what kind of food waste you grind. For most households, ½ HP works well; larger households or heavier use might need ¾ – 1 HP.

How much does it typically cost to replace a garbage disposal?

Depending on model and features, units plus parts can run from $150 to $400. If hiring a professional installer, add in labor costs.

What are the most common mistakes when replacing a disposal?

  • Not shutting off power properly.
  • Forgetting to remove the dishwasher knockout plug.
  • Overusing plumber’s putty or not cleaning up excess.
  • Incorrect alignments on the mounting ring resulting in leaks.
  • Loose electrical connections or no ground.

Request Garbage Disposal Replacement

If your garbage disposal is on its last legs, don’t wait until your sink is clogged. Len The Plumber Heating & Air offers fast, professional garbage disposal installation with no surprise fees and expert workmanship you can trust. Whether you’re in the middle of a kitchen remodel or just need a quick replacement, we’re here to help across the Mid-Atlantic region.

Book garbage disposal replacement online or call Len The Plumber Heating & Air today!

This post first appeared on https://lentheplumber.com

South Florida Fall Plumbing System Checklist (Upgraded!)

South Florida Fall Plumbing System Checklist

Ready for South Florida’s fall? Let’s talk plumbing! Why? Because a change in season is the perfect time to keep your pipes and fixtures happy—and avoid those costly disasters right when you want to kick back.

Inspect for Leaks

Don’t just glance—get hands-on! Look underneath sinks, behind toilets, around water heaters, and at all hose bibs and shut-off valves. Slide your hand along pipes. Feel for moisture, rust, or discoloration. Why? Even pinhole leaks can waste thousands of gallons yearly and attract pests.

Test Water Pressure

Run every faucet, shower, and outdoor spigot. Is pressure weak or crazy strong? Attach a water pressure gauge to an outdoor tap. Ideal range: 40–60 psi. Too high stresses your pipes. Too low? You might have sediment, corrosion, or a sneaky leak in the system.

Flush Your Water Heater

South Florida’s hard water = rapid calcium buildup. Drain a few gallons from the heater into a bucket—if water runs cloudy, flush the full tank. This keeps heaters working efficiently and helps prevent clogs and premature tank failure.

Clean Drains & Gutters

Don’t stop at kitchen or bath drains. Snake out shower/tub drains, check garage and patio floor drains, clear all outdoor gutters and downspouts. Clogged gutter? Water spills against your foundation, risking mold and structural damage.

Check Outdoor Pipe & Hose Damage

Summer UV and hurricane weather beat up exposed pipes. Inspect garden hoses, bibbs, sprinkler lines, and pool plumbing for cracks, bulges, or green buildup. Replace before a surprise winter burst.

Test Sump Pump & Backflow Valve

Pour water directly into your sump pit—does the pump kick on instantly? Check discharge pipes for blockages. Inspect your backflow valve for smooth operation—dirty water should never enter your home.

Inspect Toilets for Running or Phantom Flush

Listen for running water after you flush. Watch for ‘phantom’ fills. Lift the tank lid—replace tired flappers or wonky fill valves. These simple fixes slash your monthly water bill.

Check Washing Machine Hoses

Old rubber hoses are a flood waiting to happen. Feel for stiffness, cracks, or rust on connections. Swap to braided stainless steel hoses—they’re tougher than Florida storms!

Look for Signs of Mold or Mildew

Take a deep breath—do you smell musty odors in bathrooms, closets, or near water fixtures? Check walls, ceilings, and under cabinets for discoloration or soft spots. Mold means hidden leaks. Act before it spreads!

Schedule a Pro Inspection

Don’t leave safety to chance. Booking a full plumbing check—especially if you’ve got an older home or post-storm damage—is your insurance against surprise repairs. Professionals catch what you can’t!

How Can A to Z Statewide Plumbing Help?

A to Z Statewide Plumbing is your fall readiness expert! Our seasoned team does thorough inspections, pinpoints pipe problems, flushes water heaters, fixes leaks, and protects you from South Florida’s biggest plumbing headaches—before they start. Want a home that’s leak-free and stress-free? Give us a call. Because the truth is… everything you want (safe, efficient plumbing!) exists on the other side of a smart checkup.”

Trending Topics Right Now

This post first appeared on http://www.atozstatewideplumbing.com

Why do CPVC pipes get brittle over time?

Why do CPVC pipes get brittle over time 
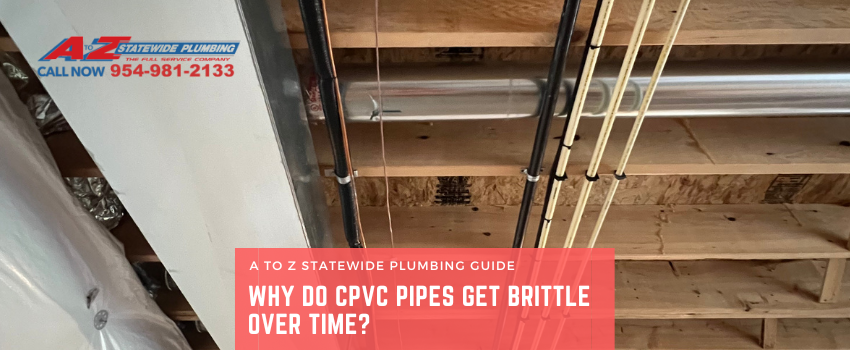
At A to Z Statewide Plumbing, our technicians often ask why CPVC pipes get brittle over time? Let’s break it down – like plastic under pressure.

1. Chlorine Degradation

Did you know the very thing that disinfects your water can eventually break down your pipes? Here’s what happens: water treatment plants use chlorine and chloramines to kill bacteria, but these chemicals slowly react with the CPVC. Over years, they slice up the long plastic molecules, making the pipe’s structure weaker and rougher. You’ll rarely notice this happening, but after a decade or more, those little cuts add up. The result? The pipe walls get crumbly in spots, especially where chlorine levels are highest—like near your water heater, or if you flush your system often.

2. Plasticizer Loss & Aging

Imagine CPVC as a loaf of bread that starts soft but dries out in the sun. CPVC doesn’t have much of those “softeners” (plasticizers), but what it does have can slowly leach out—especially in hot, dry conditions. As these components vanish, the pipe’s surface changes from flexible to brittle, like a dry twig snapping in the wind. This process happens even faster if your home runs really hot water or sits in a scorching attic.

3. Environmental Stress Cracking

Here’s where your choice of plumbing products really matters. If CPVC is paired with the wrong type of thread sealant, pipe dope, or even routine household cleaners that drip onto the surface, it can cause chemical reactions. These create tiny, invisible cracks at first. Put any pressure on a bent or hanging section, and those microcracks start to spiderweb throughout the pipe. Over time, what was once a tough plastic becomes a weak spot just waiting to burst.

4. UV Exposure

Even if your pipes aren’t sunbathing outside, they aren’t safe from light! UV rays sneak through attic vents, skylights, or windows, breaking down the outer shell of the CPVC. At first, you might just notice discoloration—maybe a yellow or brown tint. But the real damage is deeper: the surface gets chalky and brittle, losing its toughness and ready to crack at the slightest bump.

5. Thermal Cycling

Every day, your pipes expand when they’re warm, then contract as they cool off—like a bridge moving on a hot summer day. Every hot shower, attic heat wave, or cold snap is like bending a paperclip back and forth. It doesn’t break the first hundred times, but give it months or years…and snap! These tiny, ongoing stresses slowly chip away at the pipe, especially at joints and fittings.

Bottom Line:
CPVC isn’t fragile out of the box, but life happens. Water chemistry, heat, light, chemicals, and stress—they all team up over the years to make CPVC less reliable. That’s why older pipes, or those in rough environments, can reach a point where they fail faster than most people expect.

Worried about brittle CPVC pipes? You’re not alone! Let’s talk about smart alternatives, simple fixes, and awareness every homeowner and builder should have. Ready for peace of mind? There are better picks than CPVC:

PEX: Flexible, durable, and almost immune to chlorine and most common household chemicals. It’s like giving your home a set of yoga pants—moves with the flow, resists cracking.
Copper: The classic! Long-lasting, resists UV and heat, naturally antimicrobial. The truth is… copper’s higher cost pays off with dependability.
Stainless Steel: Super strong and corrosion-resistant. It’s the body armor of plumbing, but usually for high-end work.

Best practices if you already have CPVC installed:
Don’t panic—just get proactive!

Regular water testing: Check for chlorine levels. High chlorine? You’re speeding up pipe aging. Use home water test kits or ask a plumber for help.

Know when to replace: If pipes near heaters feel chalky, snap easily, or show discoloration—consider replacing those hot zones first.

Use compatible products: Only use approved thread sealants and avoid harsh chemical cleaners near piping.

Protect pipes from UV: Wrap or shield exposed pipes, especially in attics or sunny rooms.

How can A to Z Statewide Plumbing help?
A to Z Statewide Plumbing knows how to spot early warning signs—before pipes break. We use the right products, the right repairs, and up-to-date inspection methods to protect your pipes from every one of these risks. Want peace of mind (and avoid a water disaster)? Reach out and let the pros handle it. Remember: everything you want—a worry-free plumbing system—exists on the other side of a good inspection!

Trending Topics Right Now

This post first appeared on http://www.atozstatewideplumbing.com

Late-Season AC Repairs, or Wait Until Spring?

repair-tools-on-outdoor-AC-unit

When the cooler air of fall starts to creep in, many homeowners assume that it’s fine to ignore lingering problems with their air conditioner until next year. But putting off necessary work can backfire in a big way. If you’ve been struggling with weak airflow, unusual noises, or rising energy bills, you may be tempted to let the system sit idle until warmer weather returns. Before you make that decision, consider how smart it may be to schedule AC repair in Cedar Grove, NJ now—rather than face an even bigger problem when you need your cooling system most.

Why Late-Season Repairs Matter

Your AC doesn’t stop aging just because it’s off for the winter. Issues like refrigerant leaks, worn belts, electrical concerns, or failing compressors can worsen when left untreated. Moisture and debris buildup over months of inactivity can cause corrosion or clogged components. By the time spring rolls around, that small problem could have snowballed into a full breakdown, costing you far more than a quick repair today.

Even if you don’t plan to use your system until next summer, addressing problems now helps protect your investment. You’ll be giving your air conditioner the chance to “hibernate” in better shape, instead of letting it deteriorate quietly in the background.

Protect Your Comfort and Your Budget

Think about next spring. The first warm day arrives, you turn on your AC, and… nothing happens. Suddenly, you’re left scrambling for emergency service at the same time dozens of other homeowners are also calling for help. By handling repairs before shutting down your system for the season, you can avoid that stressful scenario and enjoy peace of mind knowing you’ll be ready for the first heatwave.

There’s also a financial advantage. Tackling a repair now can extend the life of your system and keep energy efficiency high. If you wait and allow components to degrade further, you may be looking at higher bills, more extensive work, or even premature replacement. Preventive action always costs less than crisis repairs.

Don’t Let Small Issues Become Major Headaches

Some homeowners hesitate to schedule fall AC service because they assume it’s not urgent. But think of your cooling system like your car—you wouldn’t ignore a warning light and keep driving for months, because the damage could be catastrophic. The same principle applies here. If your air conditioner has shown signs of trouble, it needs attention, regardless of the season.

Take Action Today

Don’t leave your comfort to chance next year. Scheduling late-season repairs ensures your AC system is ready when you need it and spares you from costly surprises down the road. Our expert technicians can quickly diagnose and fix any issues, giving your system a clean bill of health before winter arrives.

Call us today to schedule service and protect your investment. Don’t let your air conditioner sit in disrepair all winter—address the problem now and step into spring with confidence.

Contact MarGo Plumbing Heating Cooling Inc. today to schedule an appointment or with any questions for an emergency plumber in Montville, NJ!

The post Late-Season AC Repairs, or Wait Until Spring? first appeared on MarGo Plumbing Heating Cooling Inc..

This post first appeared on https://margoplumbing.com

Plumbing Question: What Is a Mixing Valve?

You use running water in your home every day. When you reach for the knobs or handle that controls the flow of water into a sink, shower, or bathtub, you have the option to get cold or hot water, or a blend of both. You probably know the exact combination of the two that’s the most pleasant for you. 

But did you know that there’s a hidden mechanism in your plumbing to make sure that you don’t get an unpleasant surprise of extremely hot water? It’s called the mixing valve, and without it, your daily supply of water could become dangerous.

What is a Mixing Valve and How Do They Work?

The term “mixing valve” has the general application of meaning any device in plumbing that controls the mix of hot and cold water. While this provides a comfortable temperature, in most cases, a mixing valve isn’t designed simply for comfort; it serves as a critical safety mechanism that will keep you from accidental scalding due to high temperatures.

How a Mixing Valve Protects Your Family

The danger of scalding water from your plumbing exists because water in a home needs to be stored at high temperatures (often 120°F or more) to prevent bacterial growth. Without the regulation of a mixing valve, this water might flow directly from your shower head or faucet and cause you injury.

Types of Mixing Valves: Thermostatic vs. Pressure Balance

While they serve a similar purpose, there are two main types of valves used in modern plumbing systems:

  • Thermostatic Mixing Valves (TMVs): These valves use a thermostat to sense and control the water temperature. They automatically adjust the mix of hot and cold water to maintain a constant temperature, even if the pressure or temperature of the incoming water supply changes. These are often used for whole-home systems or in high-use areas like master showers.
  • Pressure Balance Valves: This is the most common type found in modern showers and bathtubs. It works by sensing the pressure ratio of hot to cold water. If there’s a sudden drop in cold water pressure (like when a toilet is flushed), the valve immediately reduces the hot water pressure to match, preventing a surge of scalding water. It maintains the balance of pressure, not a specific temperature.

4 Common Signs of a Failing Mixing Valve

Like any mechanical part, a mixing valve can wear out over time. If you notice any of these issues, it’s a strong sign that your valve needs professional attention:

  1. Extreme Temperature Fluctuations: The water temperature fluctuates wildly, from very hot to very cold, without you touching the handle.
  2. Loss of Water Pressure: A blocked or failing valve can restrict water flow to the faucet or shower.
  3. The Handle is Stuck or Leaking: You can’t turn the handle, or you see water dripping from around the handle plate.
  4. Only Hot or Cold Water: The valve is stuck on one side and no longer blends water properly.

Trust Your Plumbing to the Professionals

Because a mixing valve is so important for protecting you and your family, whether showering, doing the dishes, or washing your hands, you need to take good care of your plumbing.  If you’re experiencing any of the issues above, it’s time to call a professional.

The licensed plumbers at Modern Plumbing Industries have the expertise to inspect, repair, and replace all types of mixing valves. A visit from one of our local plumbing professionals will ensure your system is safe and provide peace of mind. You can fill out our form to have a member of our team get in touch with you about scheduling an inspection or repair.

This post first appeared on https://www.modernpi.com

Emergency Plumbing 101: What You Should Know

person-with-shocked-expression

When a plumbing disaster strikes, every second counts. Whether it’s a burst pipe, an overflowing toilet, or a sudden leak that’s flooding your basement, quick action is the difference between a minor inconvenience and a costly home repair. That’s why having the number of a trusted emergency plumber in Montville, NJ is so important. If you know who to call and what steps to take right away, you’ll be prepared to protect your home and minimize damage.

How to Recognize a Plumbing Emergency

Not every plumbing problem requires immediate intervention, but there are certain red flags that mean you’re dealing with an emergency. These include:

  • Burst or leaking pipes: Water flowing into your home can damage walls, floors, and personal belongings within minutes.
  • Overflowing toilets: Not only inconvenient, but also unsanitary.
  • Sewer backups: If sewage is coming into your home, it’s a health hazard and requires urgent attention.
  • No running water: Losing water completely is more than an annoyance—it can make your home unlivable until fixed.
  • Gas line issues: If your plumbing system involves natural gas and you smell gas, leave the house immediately and call for help.

If you encounter any of these situations, don’t delay—act right away to limit damage while you wait for your plumber.

Know Your Shutoff Valves

One of the best ways to take control during a plumbing emergency is to know exactly where your shutoff valves are located. Every homeowner should be familiar with both the main water shutoff valve (usually located near the water meter or where the main line enters the house) and the individual fixture shutoffs found under sinks, behind toilets, or near appliances.

Turning off the water immediately can stop a leak in its tracks and prevent extensive water damage while you wait for professional help. This simple step often makes the difference between a quick cleanup and thousands of dollars in repairs.

Why You Need an Emergency Plumbing Team You Can Trust

In the middle of a crisis, the last thing you want is to waste precious time searching online for a plumber who might offer emergency services. Unfortunately, not all plumbing companies are available after hours or on weekends, which can leave you scrambling when disaster strikes.

That’s why it’s crucial to already have a trusted plumbing company—one that explicitly provides 24/7 emergency service. When you know who to call, you can take immediate action without stress or hesitation. Even better, when you choose a company with a reputation for honesty and expertise, you’ll have peace of mind knowing the job will be done right the first time.

Always Ready to Help

Our team is committed to being there when you need us most. Whether it’s a pipe burst at midnight, a backed-up sewer line on a Sunday, or a leak that just won’t wait, we’re always prepared to step in and solve the problem quickly and effectively.

Plumbing emergencies can feel overwhelming, but with preparation and the right professionals on your side, you can protect your home and restore peace of mind. Remember—know your shutoff valves, recognize the signs of an emergency, and call the experts you can trust. We’re here for you whenever you need us!

Contact MarGo Plumbing Heating Cooling Inc. today to schedule an appointment or with any questions for an emergency plumber in Montville, NJ!

The post Emergency Plumbing 101: What You Should Know first appeared on MarGo Plumbing Heating Cooling Inc..

This post first appeared on https://margoplumbing.com

+1-877-959-3534