8 Household Water Leaks That Are Affecting Your Water Bills
Water is a precious commodity. No one is comfortable losing it through leakages. Unfortunately, water leaks may go on for long without anyone noticing. Wait until you get the water bill.
You will be shocked by the figure written. You need to keep on inspecting your house to ensure there are no water leaks. Don’t wait until it’s too late. You have to understand how water leakage occurs.
Here are 8 household water leaks to check regularly:
- Leaks Caused by Pipes

If your plumbing pipe gets a hole(s) the water that flows through it will start pouring onto the floor. It might begin with continuous drops.
Since the tube is weak, it may end up busting if pressure increases. If you don’t take appropriate remedy on time, you might incur a substantial cost.
Sometimes, noticing leaking pipes can be a challenge. The plumbers embed some in the wall. You can hardly notice the leak until you see some wet spots on the wall or your ceiling.
Though it is not common, it can cause massive damage. Don’t ignore if the pipes begin to leak. Call your plumber right away.
The water may destroy some electronics. It may endanger your life if it touches a live wire. Getting a plumber to make already busted water pipe is a bit costly. Wiping away the flooded water is a task.
Note: The water bill will hike as water continues to flow.
You can repair it either by relining, re-piping, replacing the damaged section, or adding a durable material.
- Leaks as a Result Of Faulty Showerheads

If a showerhead is defective, the water will start to leak. You can call a plumber to check if it is possible to repair the already damaged showerhead.
If it’s too faulty, replace it with a new one. If you don’t take action right away, be ready to pay a higher water bill.
- Improper Installation of Your Washing Machine and Dishwasher

With a rapid change in technology, you can do your work easily. Washing clothes and utensils have never been so comfortable before. The invention of the washing machine and dishwashers is a great blessing to many.
Unfortunately, they can be disastrous if you install them poorly. Wait until your washing machine hoses burst.
A lot of water will leak, causing high bill and destruction of other electronics. Regularly, take time to check them before and after use.
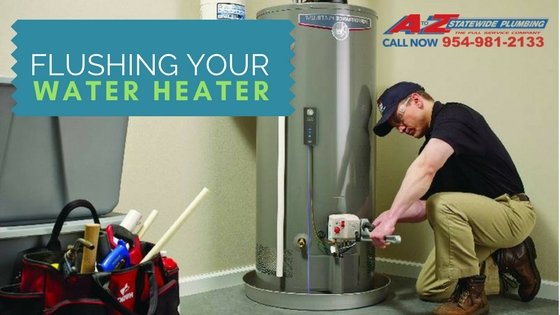
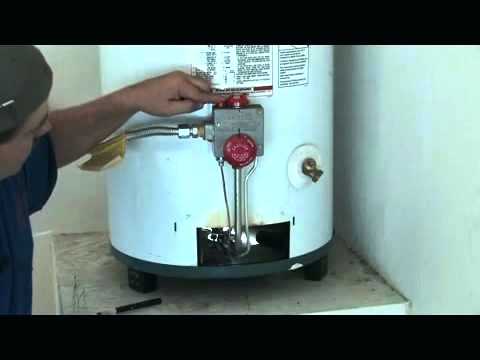
Apart from the washing machine and dishwasher, the water heater may also leak. It can also be disastrous. Keep on checking it regularly. It may hike your water bill since it can leak gallons of water.
4. Faulty Irrigation System

Do you have a kitchen garden?
Imagine waking up one day and finding your vegetables destroyed by flooded water?
You can avoid all the trouble by regular inspection of your irrigation system. If you see some water forming somewhere, trace the source of the leak. You can either fix it or call a professional plumber to do the work.
5. Ceiling Leaks

If your building is ancient, you are likely to experience ceiling leaks. It happens due to the worn out of the waterproof membrane.
The water manages to sweep through your house concrete floor slab. You need to handle the matter urgently before the water destroys your household.
If you stay in a rental house, talk to the landlord to repair the ceiling. You can make an arrangement to fix it and deduct from the rent. If it’s your house, take full responsibility and call the experts to repair.
- Toilet Leaks
The water from your toilet may leak from three areas. It’d either leak from the bowl, tank, or bottom.
a). Leak into the Bowl
- If your toilet tank is faulty, the water is likely to leak into the bowl.
- If you fail to clean, align, or replace your toilet flapper.
- If the water fills the valve.
- If you fail to align your toilets, plastic -water fill tube well.
- If water overflows from the toilet tank.
b). The Water May Leak From Your Toilet Tank

It’s essential to repair the tank immediately after realizing the leakage. Your tank has bolts and spud washer. You can decide to change the rubber gadget surrounding each.
Hard water and minerals are the cause of deterioration.
c). Leak from the Bottom
It is easy to identify any bottom leakage. The water from the bottom can cause health complications.
It may damage your subfloor and the ceiling below your toilet. You need to avoid using the bathroom and call the expert to repair immediately.
The leakage at the bottom may occur if…
- Your toilet bowl has a crack(s).
- Wax seal have a problem.
- When building your toilet, the carpenter failed to set it firmly.
7. Faucet Leaks

You can easily detect and repair your household faucet leaks. If you decide to ignore it, you are likely to get a rude shock after getting the water bill.
A lot of water will have gone to waste. Generally, faucet leakages mainly occur due to corrosion, if the internal part gets mineral deposits, a defective gasket, a washer or the o-rings.
Reasons for Why Faucet May Be Dripping
- If the o-ring develops problems.
- If the valve seat gets corroded.
- If the washer gets worn out.
- Due to the improper installation of the appliances.
Solutions
- If possible, shut off the faucet.
- Ensure there is no leakage from the faucet.
How to Repair a Leaky Tap
- Ensure that the packaging nut is tight.
- You can decide to replace your packaging washer.
- You can also replace the handles of your tap.
8. Leaking Garbage Disposal

Once the garbage disposal starts leaking, the foul smell will keep you very uncomfortable. You cannot afford to let it stay for another second.
If you don’t take immediate action, it is likely to allow mold growth. You need to call the expert to repair right away.
Common Causes of Water Leakage in the Home
- Broken seals
- Excessive water pressure
- Damaged pipe joints
- Corrosion
- The clogged lines
- Intruding roots of trees
- Loose water connectors
- A rapid change in temperature
Consequences of Water Leaks in the Home
Apart from paying more in water bills, the consequences of water leakage in the home is enormous. Let’s consider a few of them:
1). Reduces Property Values
This is a no-brainer. But a history of water leakage can lead to damage, which can become severe to the extent of driving down the value of your home. This is because the lingering effects of water damage would remain, even after you’ve successfully fixed the damage or seal your leaking pipes.
This can jeopardize your bargaining position when you’re ready to sell your home in the future, and ultimately, it’ll utterly reduce the final selling price.
It’s smart to always take care of water leaks in the pipes, toilet, or kitchen right away — this will prevent that damage from escalating and help to retain the value of your home.
2). Mold and Fungal Growth

A common consequence of water damage (which mostly happens as a result of water leaks) for your general health is the growth of fungi and molds within the home.
When these organisms are present, they cause spores that pollute the environment and air and can be a huge risk to your long-term health. Too many homes are suffering from mold spores of some sort — which can be found at the nooks and crannies of their home.
This is sure for every home, even with new construction. Especially in dry areas, spores can be dormant for years (even decades), and may not cause any obvious problem to man or animals.
However, when spores makes contact with water, there’s a reaction which causes growth.
When water is now in the equation, it gives mold spores the chance to proliferate, dominating the affected area with unhealthy and molds and resulting in additional spores that begin to adulterate the environment and pollute the air.
For most people, the presence of mold spores in the air can give rise to irritation, with the common symptoms of molds such as difficulty breathing, coughing, nasal congestion, and sneezing fits.
3). Structural Damage
There are other consequences of water damage in the home which you need to be aware of. Bear in mind, though, that this particular damage is more structure, and can be quite expensive to fix, even more costly than the cost of medical expenses as a result of mold exposure.
The common effects of water leakage that affects the structure of the building are aesthetic – ranging from staining, discoloration, and streaks on the walls.
In fact, these clear symptoms of structural damage serve as the first signal for most homeowners that they have a leakage in the house.
Conclusion
Water leakage can be very costly. You need to call your plumber to check the plumbing system regularly. In most cases, leaking water causes flooding.
It destroys the floors and ceiling. If you notice any leak in your toilet, faucet, water heater and dishwasher, call for help.
Don’t ignore if the leakage if from the tap, ceiling, showerhead, irrigation system, or pipe. You need to get information about various areas where leakage may occur.
This post first appeared on https://blog.antaplumbing.com


 Gutters
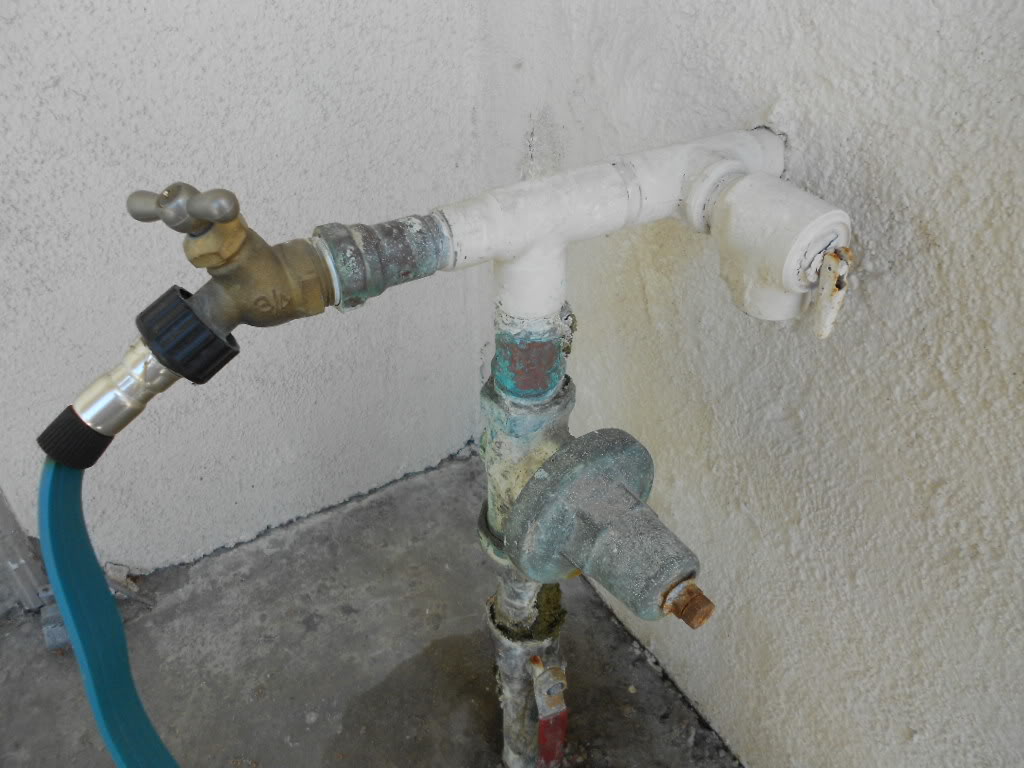 Outside faucets & pipes
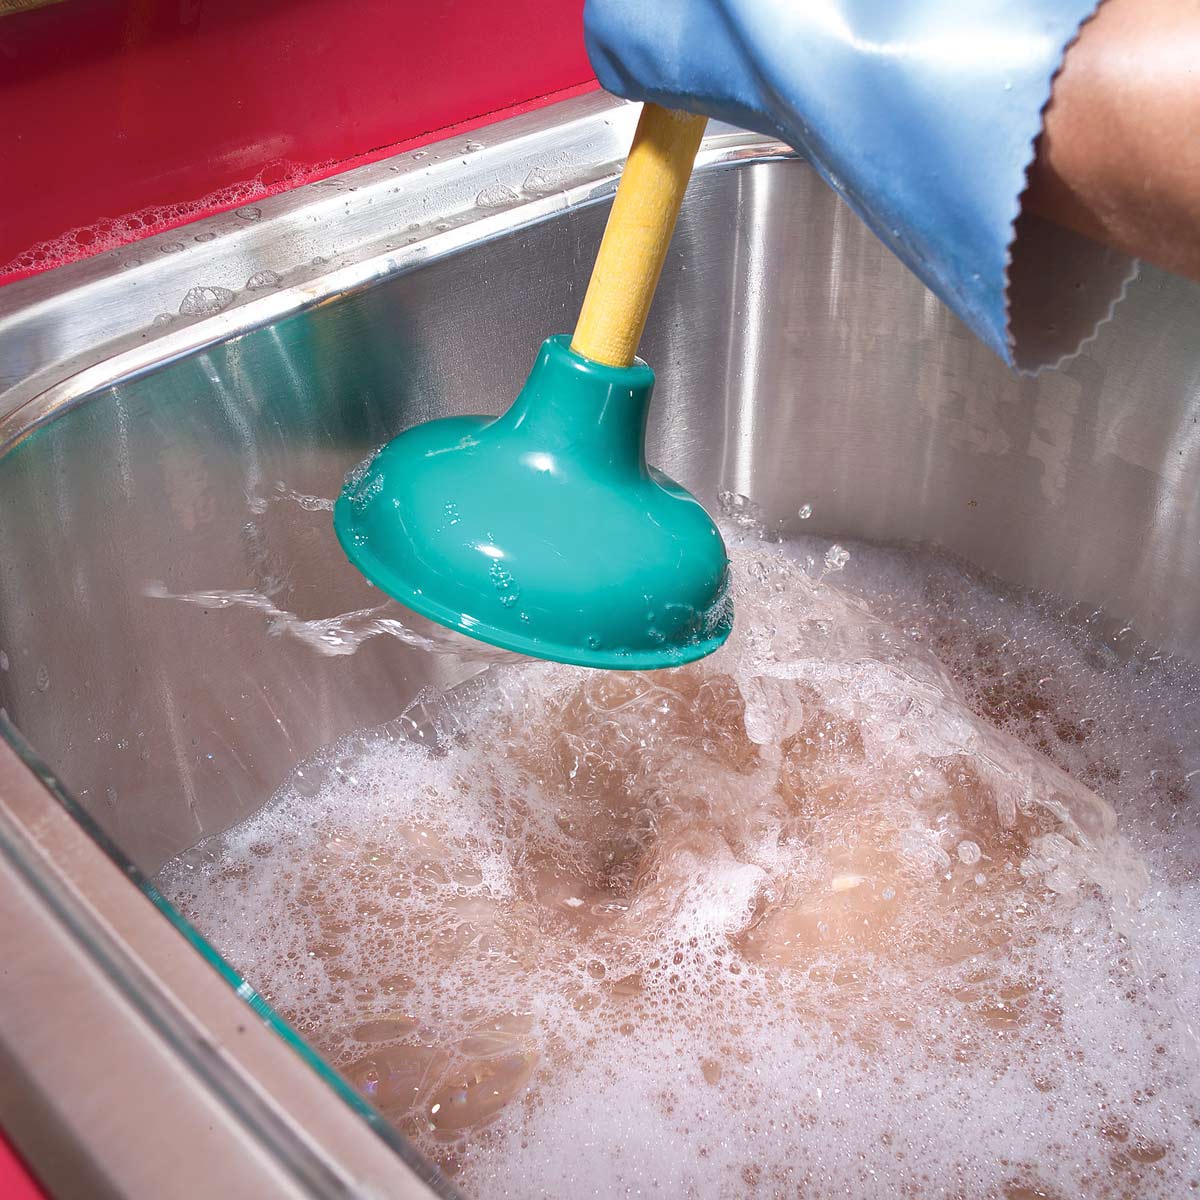 Slow drains
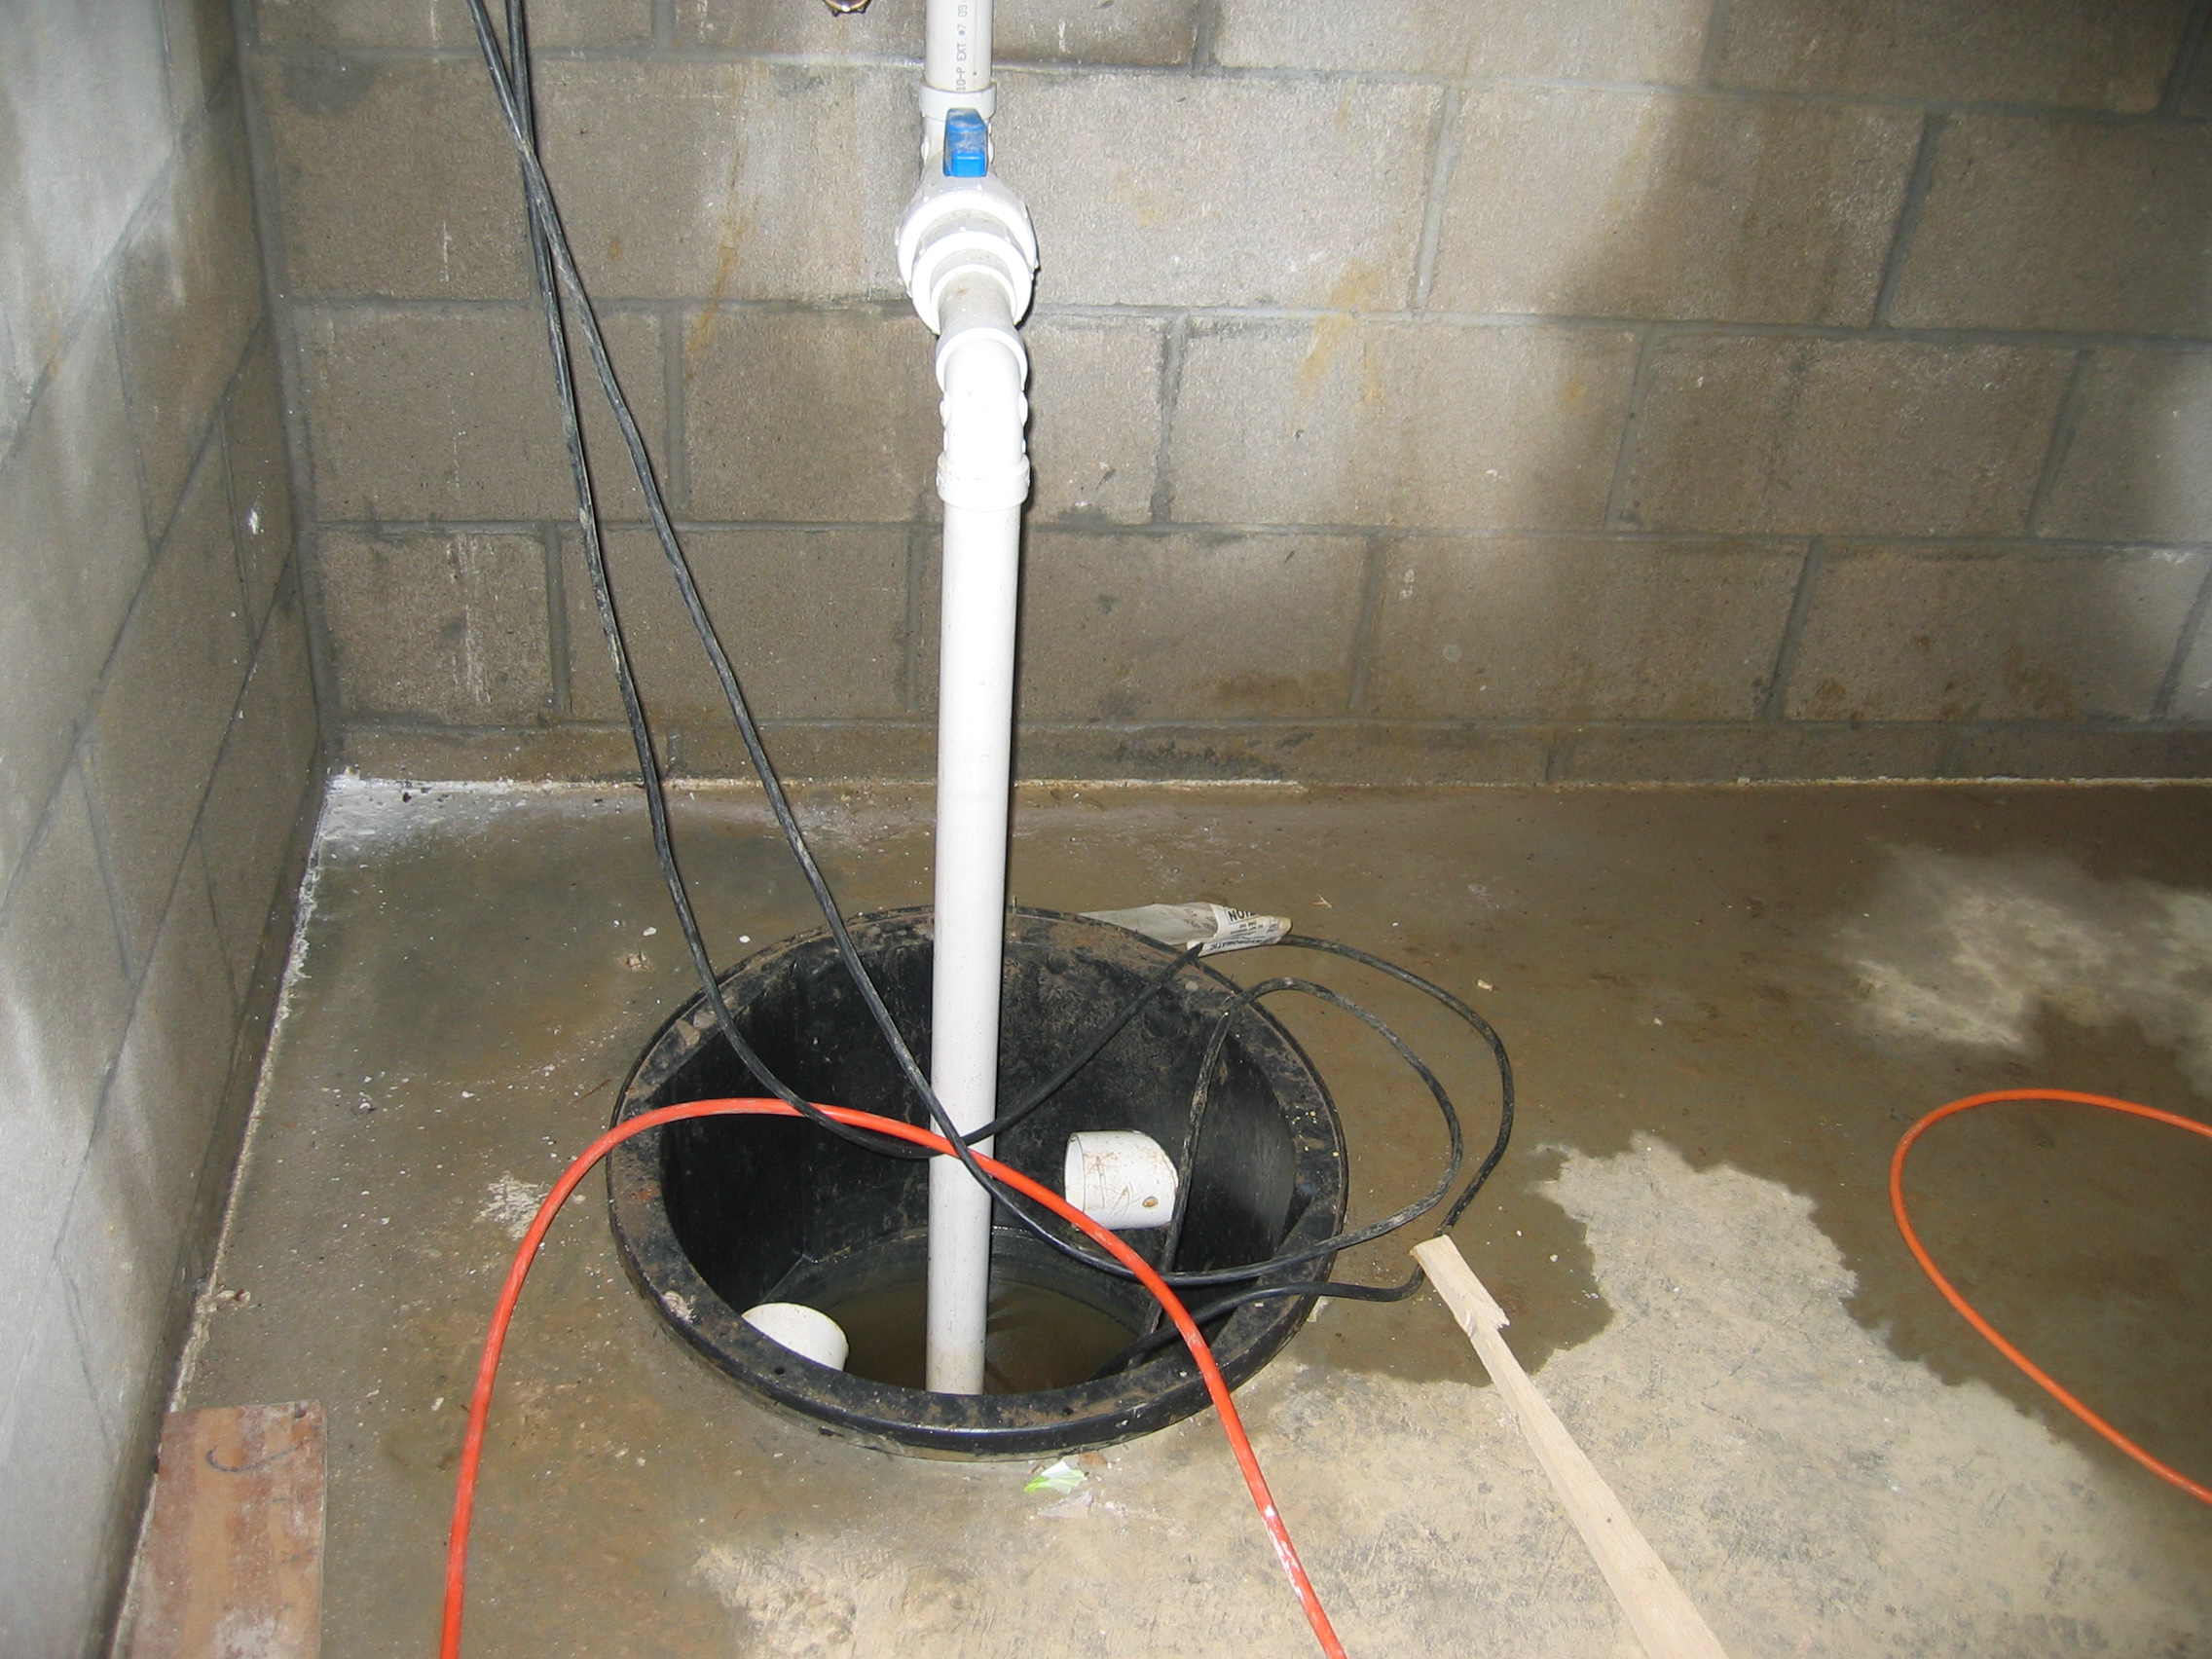 Sump pump
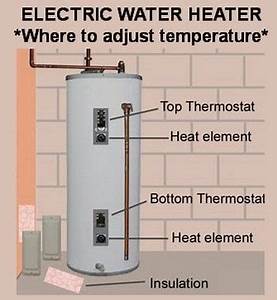
 No hot water
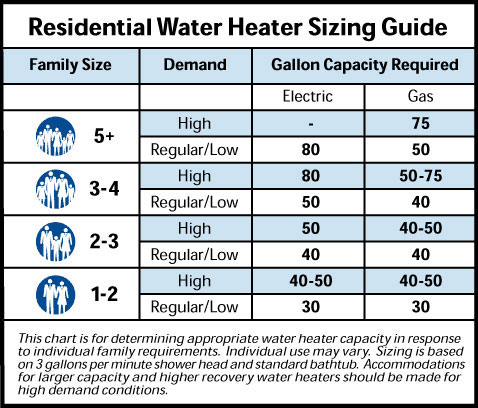
 Leaks
Leaks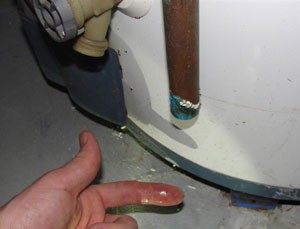 From the bottom
 Little or no hot water
 No hot water
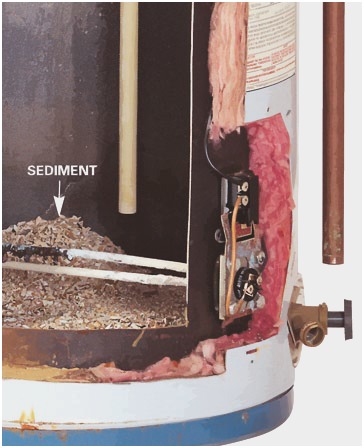 Popping:
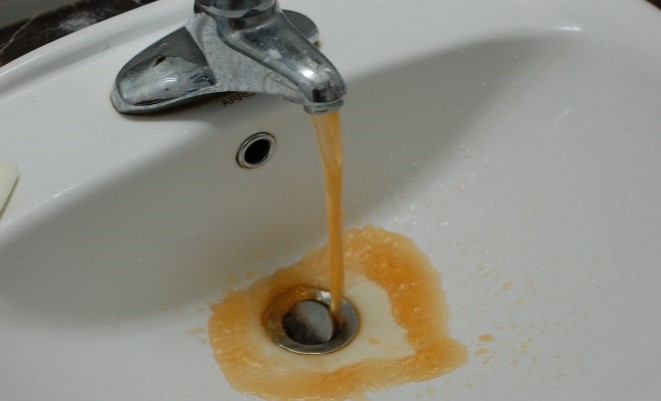 Discolored water
 Rotten egg smell


