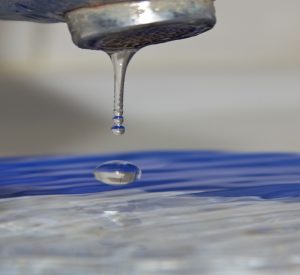
Did you know that there are at least five incredible ways that toilets have changed the world? For starters, they help keep humans (as well as other living creatures) healthy. They do so by ensuring that human waste doesn’t end up straight in land and water systems.
Toilets even help prevent blindness, keep women safe, and save energy!
Unfortunately, when toilet clogs develop, they can bring more harm than good. For instance, they can give rise to sewer backups, which, in turn, can cause raw sewage to flood your home. Keep in mind that sewage may cause at least 15 types of diseases.
That’s why it’s best to keep your toilets clean and clear of clogs at all times. This way, you can protect your family’s health and also your home from wastewater damage.
To that end, we’ve come up with several ways on how you can avert toilet clogs. Keep reading to learn more about them, as well as what you should do in case you still run into these issues.
Think Twice Before You Flush a “Flushable” Product
From 2010 to 2018, the City of Toronto had an average of 10,000 calls per year from homes due to sewer “line-blocks.” That’s at least 80,000 logged reports for blocked sewer lines in just the city of T.O. alone!
Many of these line-blocks occurred due to none other than items labeled “flushable.” Unfortunately, they aren’t really flushable, meaning they don’t disintegrate as claimed.
In light of this, researchers from Ryerson University tested 101 single-use products. Of these, 23 claimed to be “flushable.” However, none of these, including the 23 so-called “flushable” items, passed the test.
With that said, one of the best ways on how to prevent toilet clogs is not to flush anything other than the three “Ps.” These “Ps” include pee, poop, and (toilet) paper. Don’t flush any other type of paper (such as facial tissue or paper towels).
The City also advises consumers not to flush wet or facial wipes, diapers, condoms, and tampons. These are among the biggest culprits behind sewer system line-blocks.
Educate the Kids About Proper Flushing Practices
Children’s toys are some of the most “curious” items found in sewage treatment plants in Canada. They even found an animal horn and a pair of dentures in Charlottetown sewers before! All these are things that shouldn’t really be going down the toilet.
With that said, it’s best to also teach the kids about proper flushing practices and etiquette. Educate them about flushing only the three “Ps” and how dumping toys in the toilet can cause problems. It’s also wise to tell them about proper toilet usage (such as how much of it to use) to keep toilet problems at bay.
FOG Should Never Go Down the Toilet (Or Any Other Drain)
FOG is an acronym for “fats, oil, and grease.” Municipalities in Canada shell out over $250 million to clean FOG mixed with trash each year.
FOG should never go down any drain, as these liquids can harden as they go through the drain pipes. They can also combine with other objects, such as food debris and wipes. They can even turn flushable toilet paper into a clog if they mix with it as the paper disintegrates.
Also, note that fats, oil, and grease are among the primary culprits of plumbing backups. That should be enough reason to dispose of these liquids properly.
Keep the Lid Down
A clogged toilet may also be due to someone accidentally dropping an object into it. These may include anything such as a toothbrush, comb, containers, toys, and pieces of cotton, to name a few. Either way, whatever you bring inside the bathroom can fall into the toilet bowl and cause a blockage in it.
You may even find yourself dropping precious jewelry by accident into the toilet! A professional plumber in Toronto may be able to retrieve it for you, though, using a plumbing camera and a snake.
In any case, the best way to avoid these situations (and toilet clogs) is to keep the toilet lid closed. You may also want to post a friendly reminder by the wall in front of the toilet. This way, everyone in your household can contribute to preventing plumbing clogs.
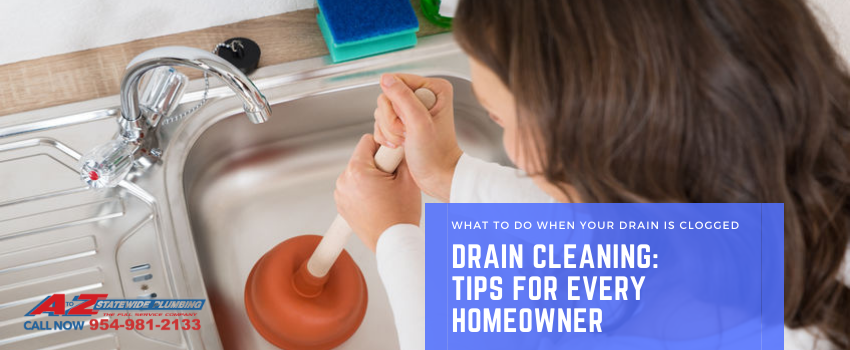
Consider Investing in Regular Drain Cleaning Services
One of the best times when to call a plumber for a clogged toilet is if you’ve already had several issues with it. Your plunger may no longer be enough to clear the drain away. Another is if the water in the toilet doesn’t recede even after several minutes from flushing it.
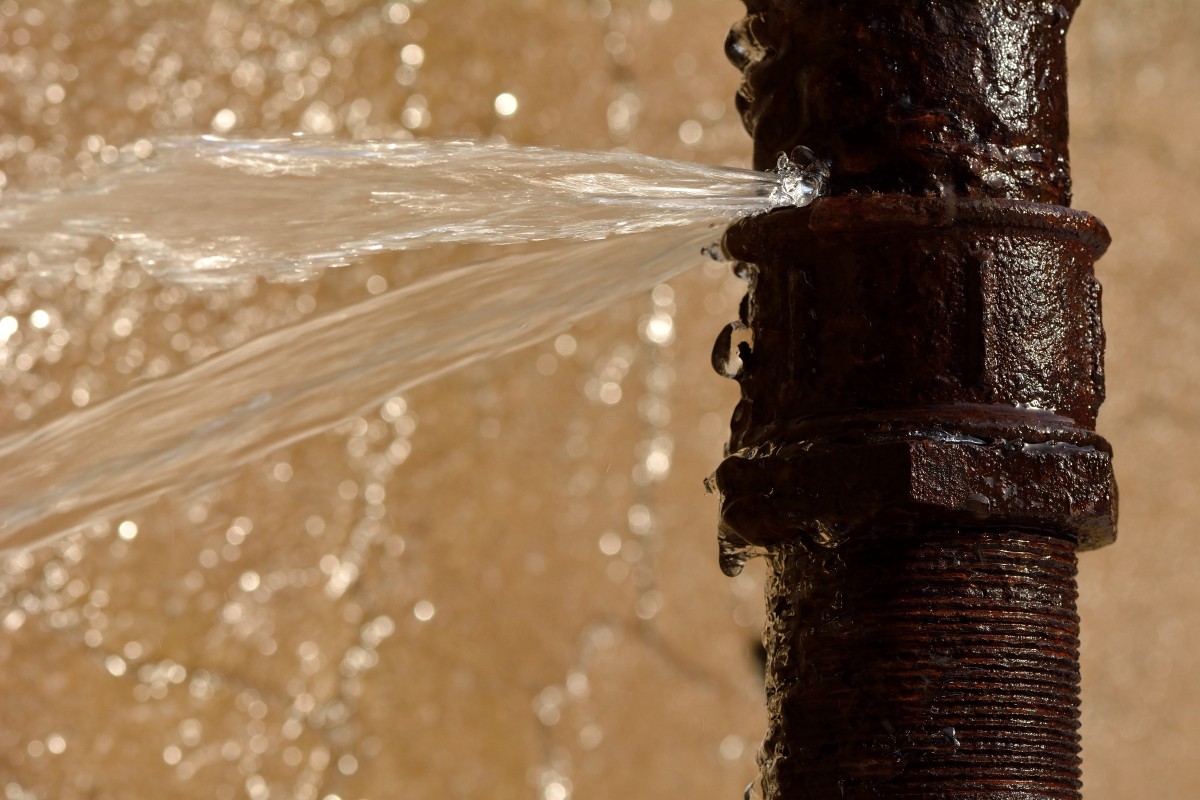
These are all signs that you have a massive clog in the toilet drain pipe or the bathroom drain line. This could turn into a potentially dangerous (and expensive) toilet backup problem.
With that said, it’s a smart idea to have a local licensed plumber clean your drains at least once every year. Do this even if your toilets and drains haven’t displayed any symptoms of clogs. Regular drain cleaning can help keep blockages from occurring in the first place.
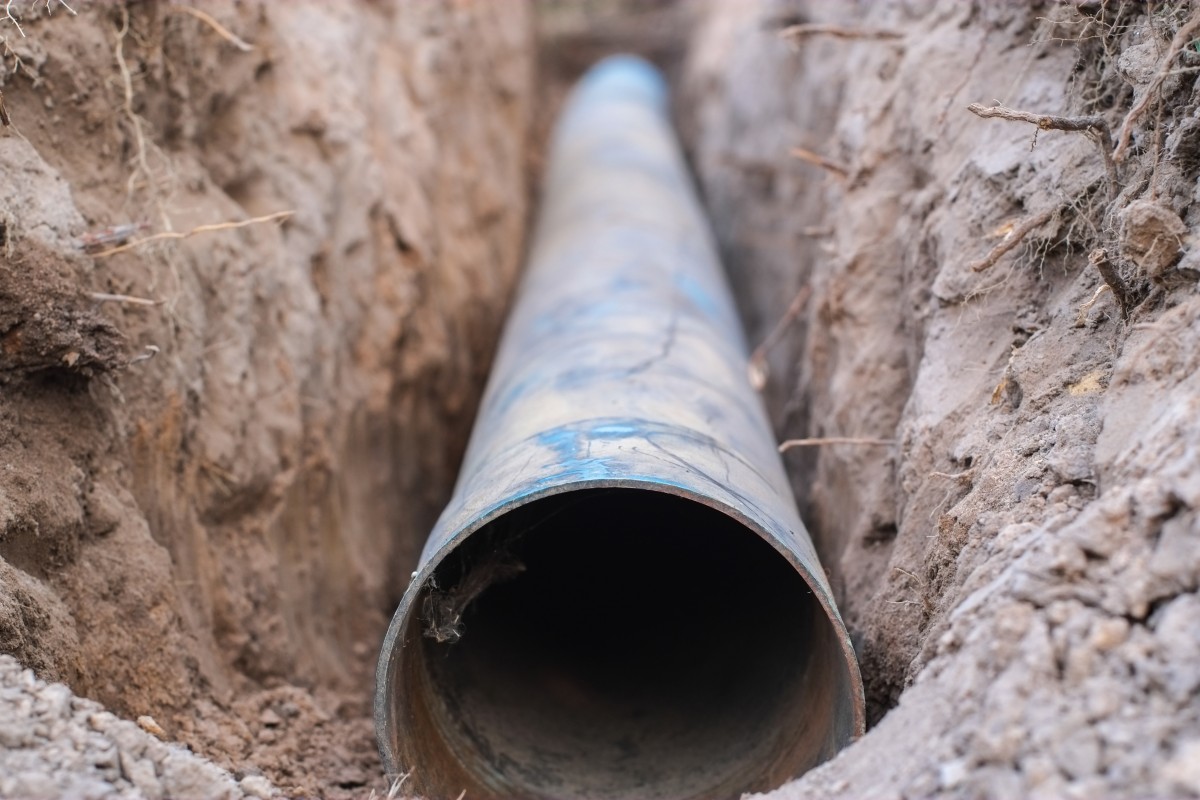
In addition, a reliable plumber can also check your home for other potential causes of clogs. For example, trees growing near your sewer line may cause blockages in the future. That’s because their roots can wrap around and choke plumbing pipes.
If the above were to happen, you’d likely end up requiring more extensive pipe repairs. Worse, a clog in the main drain or sewer line can affect your home’s entire plumbing system.
So, rather than wait for these issues to occur, it’s best to prevent them from the get-go. A Toronto plumber can help you do that by assessing your home’s pipes for vulnerabilities.
Prevent and Address Toilet Clogs Before They Damage Your Home
There you have it, everything you need to know about keeping toilet clogs at bay. As you can see, many of these have to do with proper toilet (and flushing) practices. Keep these tips in mind, especially the three “Ps,” so you can reduce your risks of having clogged toilets.
Are you having problems with your toilet or any other part of your home’s plumbing system? If so, then please know that our team here at Anta Plumbing is always ready to help. Give us a call now so we can provide you with free expert advice and plumbing service quotes!
The post Top Plumbing Tips for Preventing Toilet Clogs first appeared on Anta Plumbing Blog.
This post first appeared on https://blog.antaplumbing.com

 Rust and other types of corrosion are the worst problems a water heater can face. When rust starts to develop on a water heater tank, that usually means the entire water heater must be replaced.
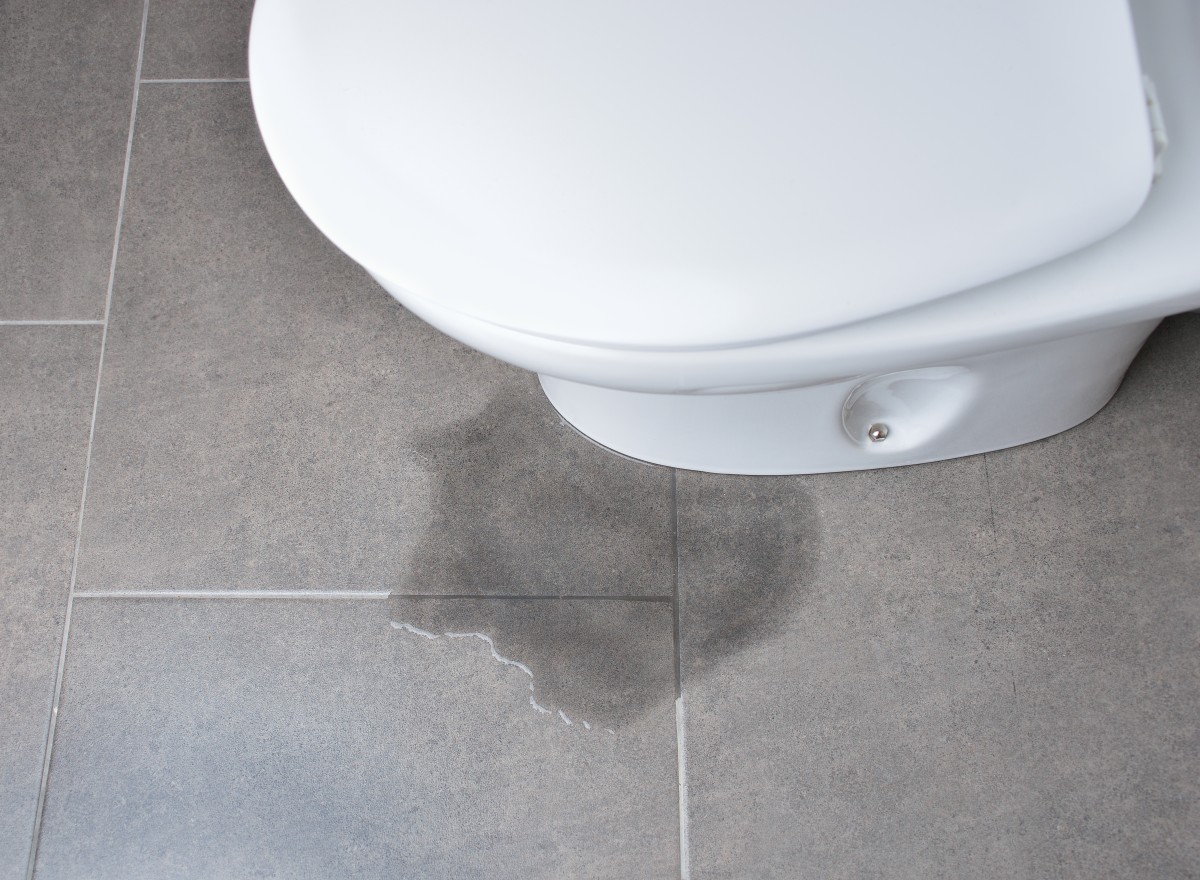
 Are you looking to get better plumbing services in your home? If so, you can start with drain cleaning. Drain cleaning is something that you need to invest in for your home on a regular basis. We know that it might not be something that you think about often. After all, there are many things that you’re probably juggling on a daily basis. We don’t expect you to be on top of everything 100% of the time. We’re here to give you the reminders that you need.
 There are three certainties in life—death, taxes, and the fact that you need to replace your air conditioner’s air filter. There’s no getting around this concept, no matter how clean you think your indoor air quality is. These filters are meant to get clogged up, so the sensitive components of your air conditioner can remain dirt, dust, and debris-free! It’s just responsible as an air conditioner owner to replace the filter when you need to.